
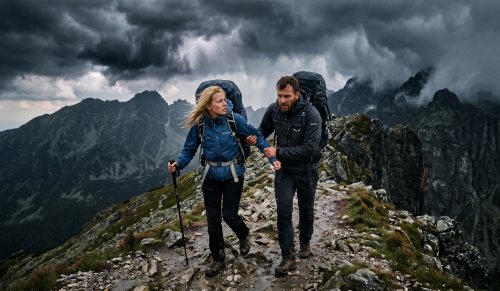
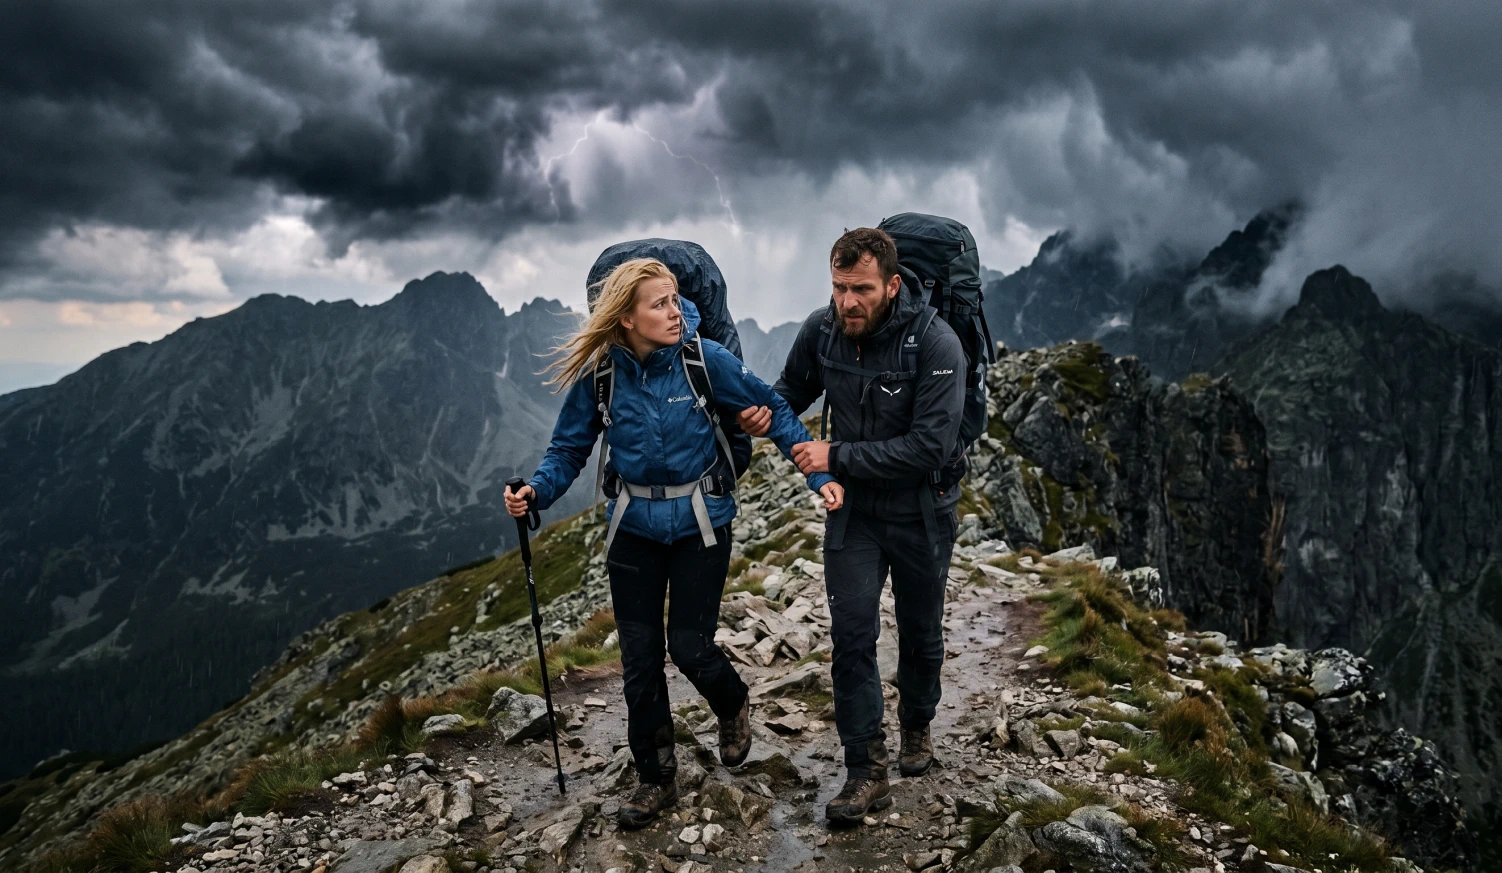
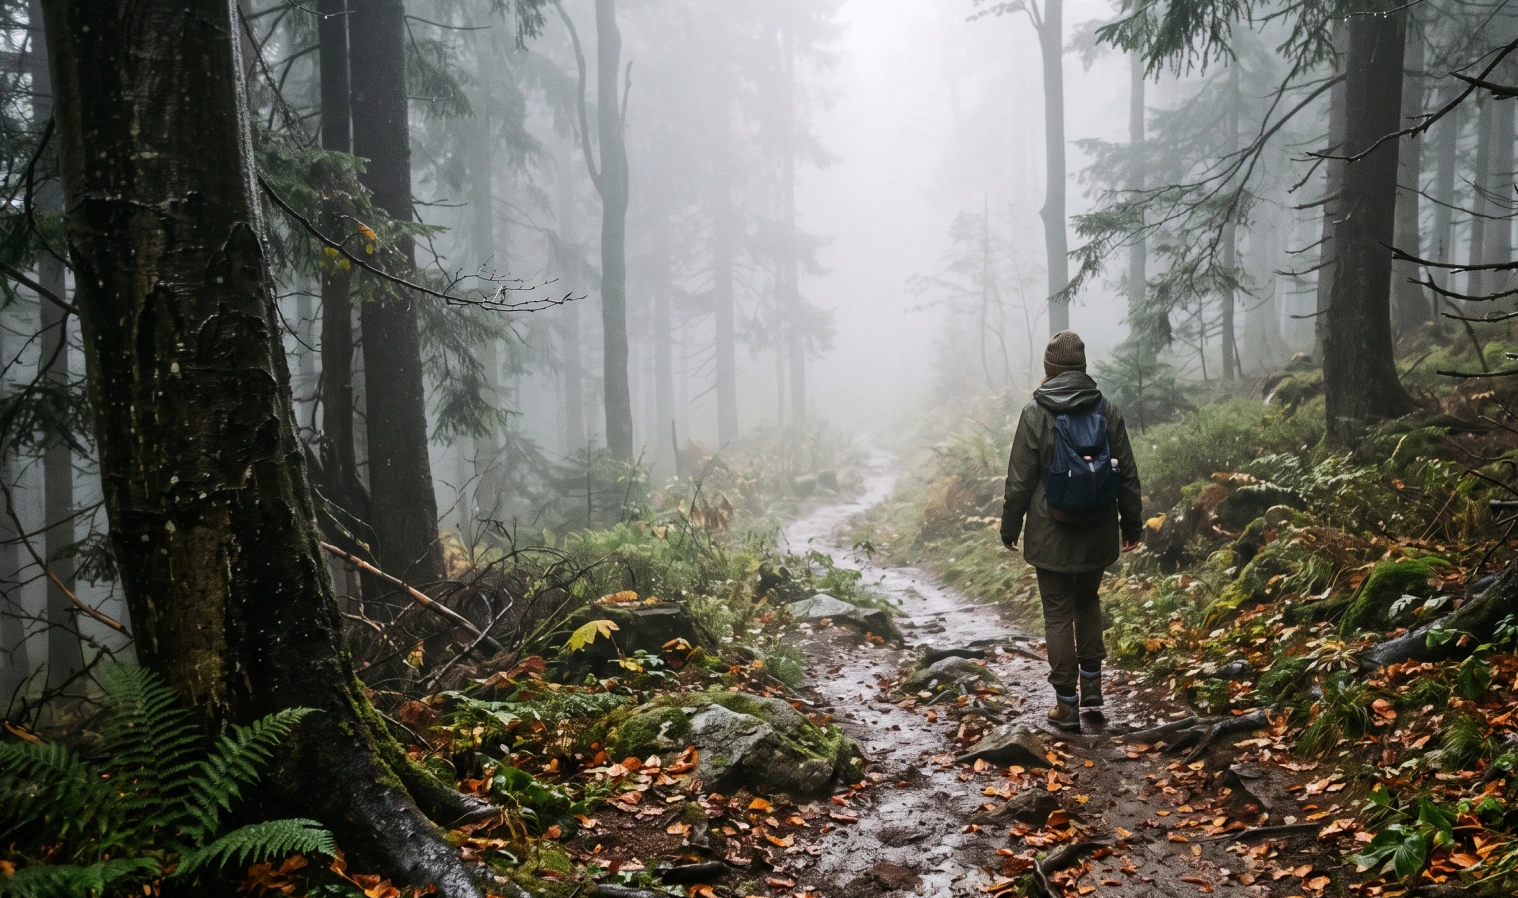
Weather in the mountains can change within minutes, and a sunny day can quickly turn into a fight for safety. The most important thing is to stay calm and rationally assess the situation. The procedure depends on what type of weather deterioration catches you.
 1. Storm and lightning (Greatest risk)
A storm in the mountains is extremely dangerous. If you hear thunder, the storm may already be close enough for lightning to strike you.
- Descend immediately: Leave ridges, peaks, and open plains. Try to get to the valley or at least below the ridge level as quickly as possible.
- Put away metal objects: Hiking poles, ice axes, carabiners, and also your mobile phone – put them in your backpack and place it at least a few meters away from you.
- Avoid traps: Never hide under lone trees, under rock overhangs (lightning can jump) or near watercourses. Via ferratas (secured paths) with steel cables are a deadly trap during a storm – leave them immediately.
- Assume the „storm position“: If you cannot escape and the storm is directly above you, find a depression (but not one flooded with water). Squat down, keep your feet close together, wrap your arms around your knees, and lower your head. Ideally, squat on a dry backpack or sleeping pad. If you are in a group, spread out at least 3 to 5 meters apart.
 2. Dense fog and loss of orientation (Whiteout)
Loss of visibility is the most common cause of getting lost and subsequent falls into exposed terrain.
- Stop: If you cannot see the next trail marker, do not continue blindly.
- Check your location: Use GPS on your phone and offline maps (e.g., Mapy.cz).
- Return on your own tracks: If you don't have GPS, go back exactly the way you came until you find the last known marker.
- If you don't know where to go, wait: If you are completely disoriented and there is a risk of falling off a cliff, it is safer to stay in place, put on dry clothes, and wait for the weather to clear, or call for help.
 3. Sudden cooling, rain, and wind
High mountain environments can bring temperatures close to zero even in summer. In combination with strong wind and wet clothing, there is a risk of very rapid hypothermia.
- Dress before you get soaked: Don't wait. As soon as it starts to rain or blow, put on a waterproof and windproof layer.
- Find a lee: Hide behind a large boulder, in dwarf pine, or in a mountain hut. Wind drastically lowers the perceived temperature.
- Maintain energy: Eat quick sugars. If you have to stand still, move your fingers, shift your weight – muscle work generates heat.
When and how to call for help
| Situation | What to do |
|---|---|
| Slovakia (Mountains) | Call 18 300 (Mountain Rescue Service). |
| Best method | Use the HZS app (it sends your GPS location). |
| Abroad / No HZS signal | Call the universal number 112. |
| Completely without signal | Try sending an emergency SMS. |
The golden rule of the mountains: The best response to worsening weather is prevention. Always check the radar and detailed forecast before a hike (e.g., SHMÚ, Meteoblue). In summer, set out early in the morning, because storms most often arrive in the afternoon. Knowing when to turn back and give up the summit is a sign of an experienced hiker.
How does the HZS app work?
The app serves as a comprehensive rescue tool. The "Call for help" button automatically sends your precise GPS location, battery status, and health information to the operator and simultaneously dials the 18 300 line. In case of a weak signal, you can use the chat or send a photo of the injury. The app also includes the "Guardian Angel" feature (virtual hike log) and a map of the nearest defibrillators (AED).
Best offline maps for hiking
Google Maps is often unusable in the forest. For safe hiking, we recommend:
- Mapy.cz (Clear Winner): Detailed hiking layer, works 100% offline after downloading maps.
- Organic Maps: Open-source app, saves battery, works great offline.
- Locus Map: Professional tool for advanced mountaineers.
Practical recommendation: Always download maps to offline mode at home on Wi-Fi and, just in case, pack a charged power bank. A phone that constantly searches for a signal in the mountains drains the battery many times faster.
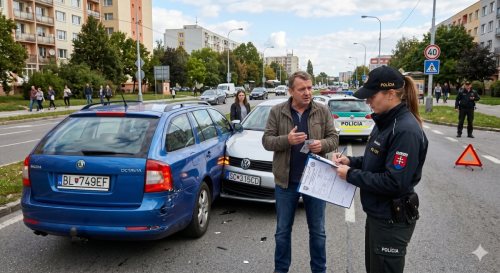
The Road Traffic Act (No. 8/2009 Coll.) divides road collisions into two categories: traffic accident and damage event. All your further obligations, and especially whether you must call the police, depend on this division.
When it is a traffic accident (you MUST call the police)
Under the law, an event is classified as a traffic accident if at least one of the following situations occurs:
- Someone was injured or died.
- If you cannot agree with the other participant on who caused the damage ,
- One of the drivers is under the influence of alcohol or drugs, or refused to undergo a breathalyzer test.
- A road or public utility facility has been damaged (e.g., destroyed guardrails, a toppled traffic light).
- There has been a leak of dangerous substances.
- One of the participants refused to prove their identity or fled the scene.
What are your obligations:
- Stop the vehicle and secure the scene (reflective vest, hazard lights, warning triangle).
- Provide first aid and call the emergency services (112 or 155).
- Call the police (158) and remain at the scene.
- Do not move the vehicles. If you must move them, carefully mark their position (chalk, spray, photos).
- Refrain from consuming alcohol or medication until the incident is investigated.
When it is a damage event (you do NOT call the police)
If no one is injured, the participants have not consumed alcohol, public property has not been damaged, and you have clearly agreed on the culprit, it is a material damage incident. In such a case, you do not need to call the police.
What are your obligations:
- Secure the scene (vest, triangle).
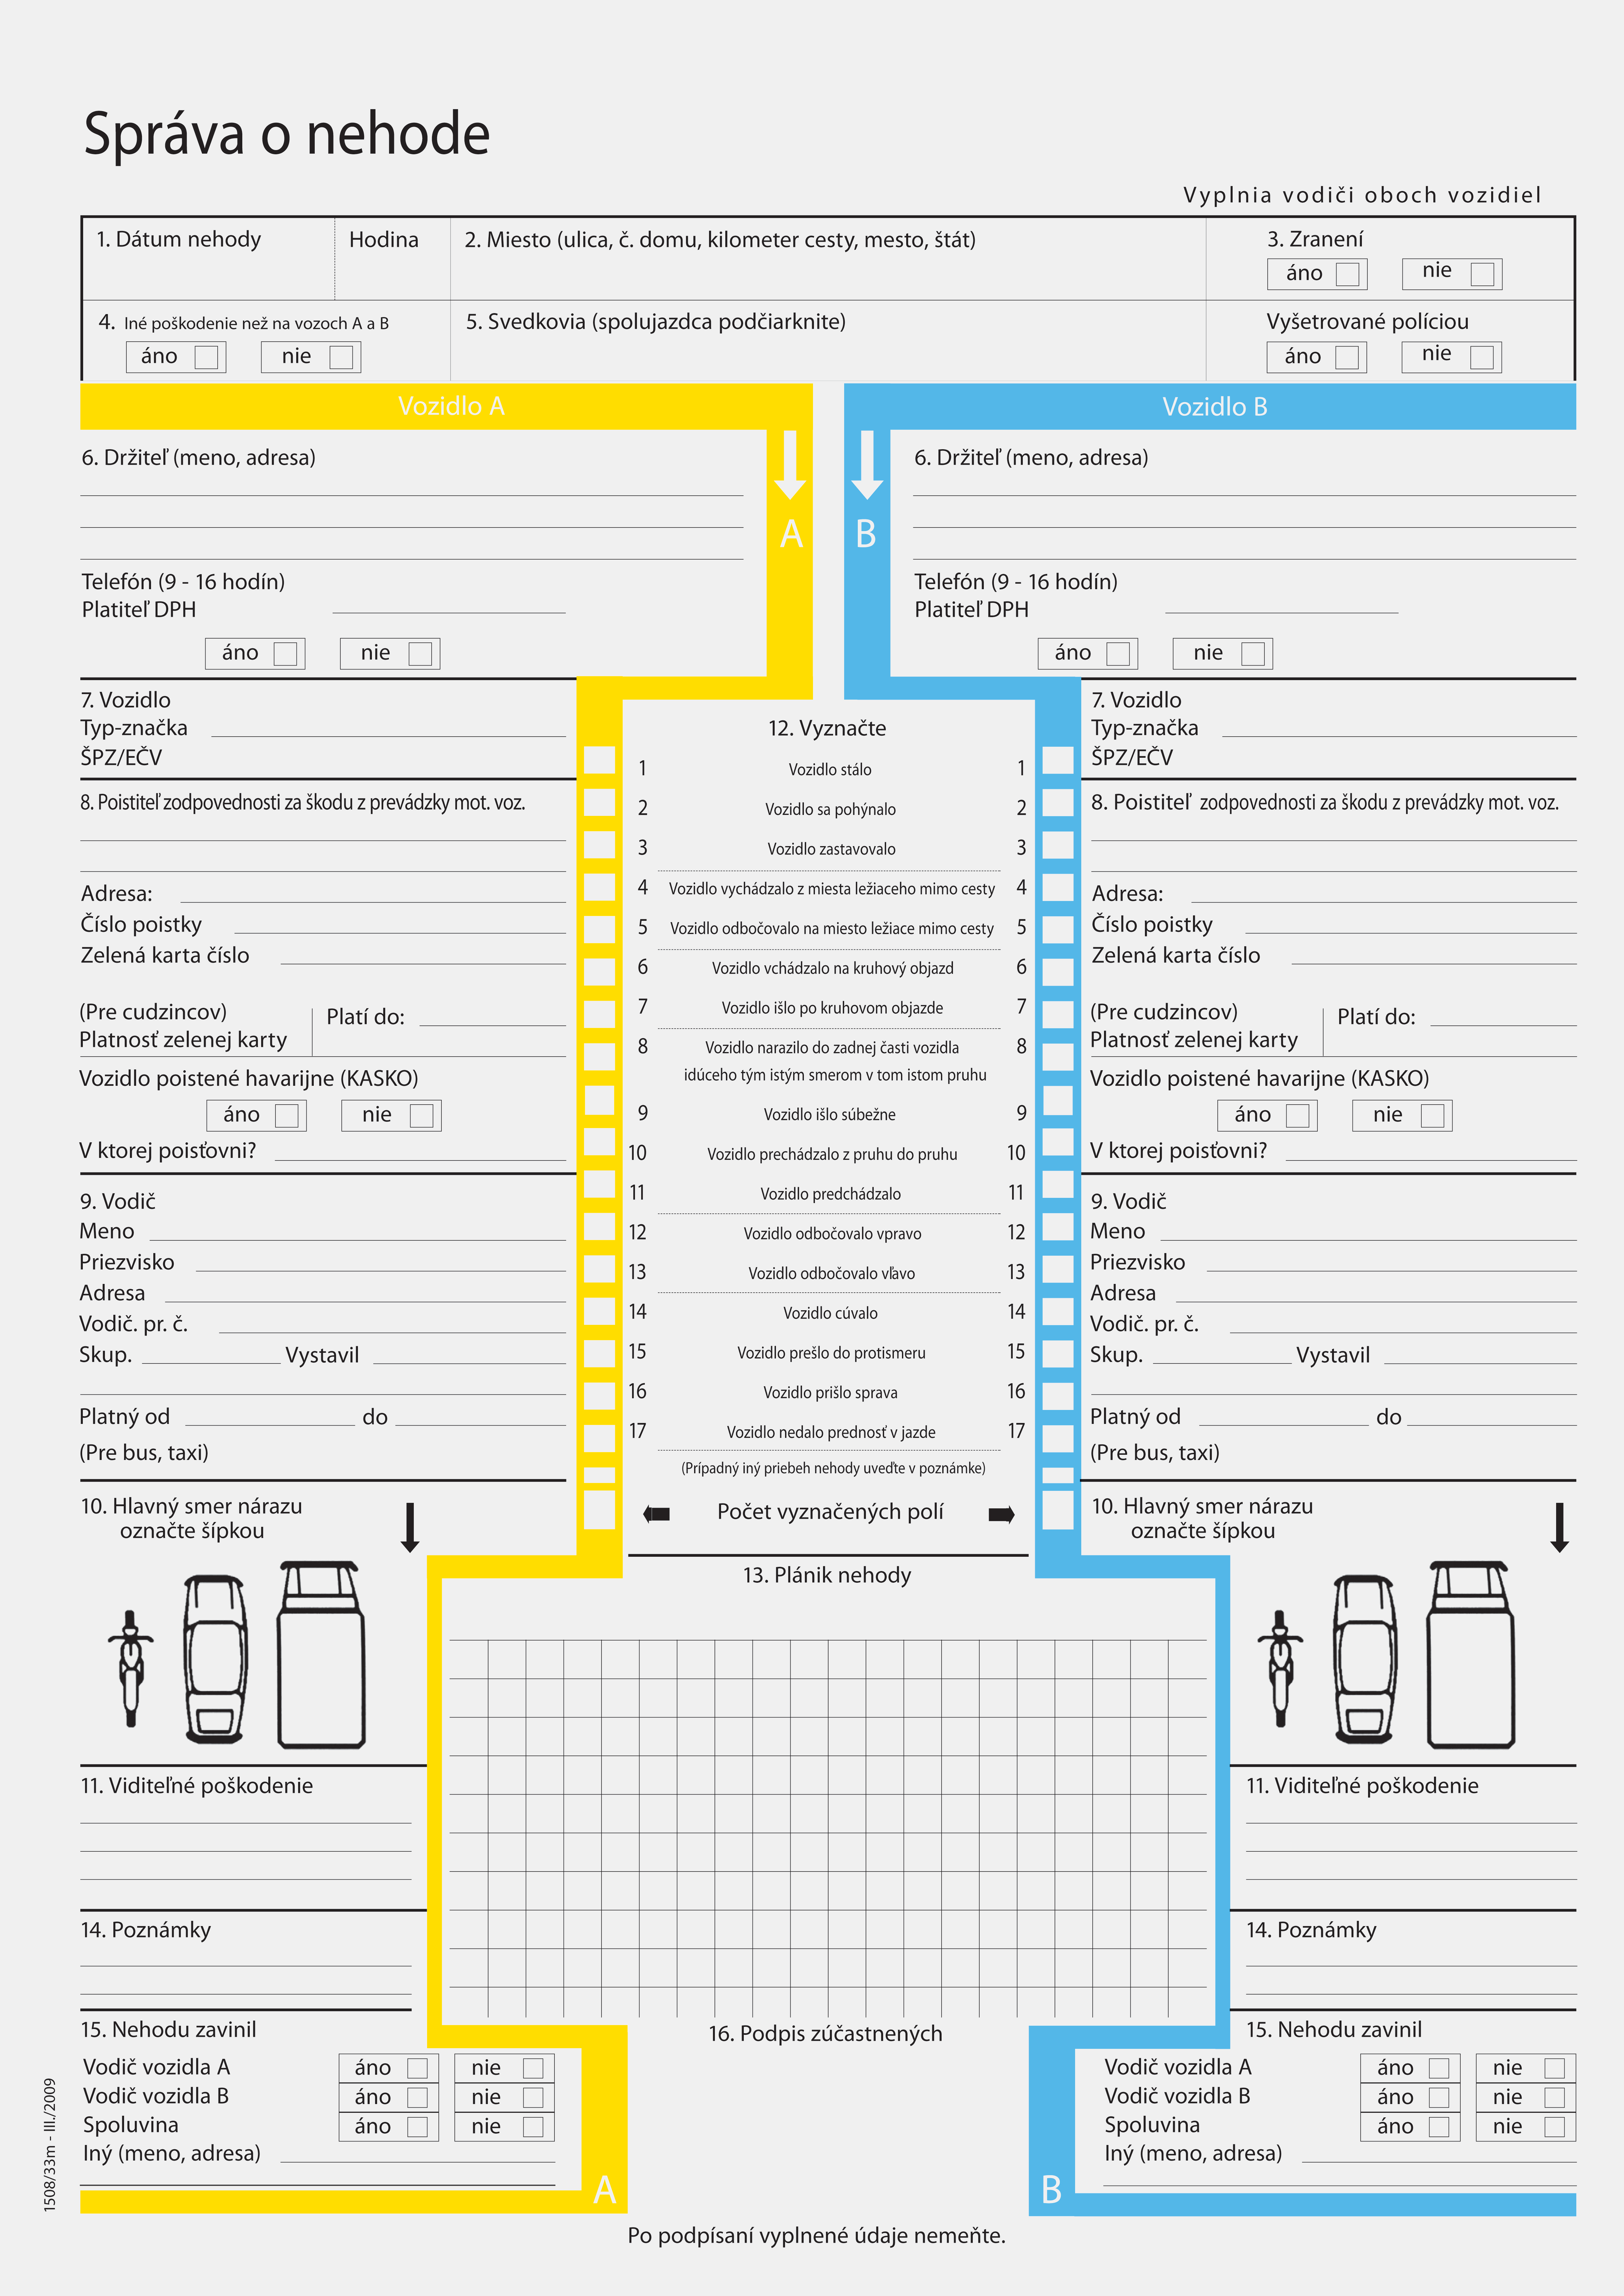
- Fill in the Accident Report. Draw the situation in detail, clearly mark the culprit and both of you sign.
- Exchange information. Describe your ID card, driver's license and MTPL data (contract number). If you damaged the property of a third party who is not present, you must inform them without delay.
- Document the damage (photos from multiple angles).
- Remove the obstacle so as not to block traffic.
Subsequent steps with the insurance company
- At-fault party: Must report the insurance event to their insurance company (liability insurance) within 15 days (in Slovakia), or within 30 days (abroad).
- Injured party: Claims compensation from the at-fault party's insurance company, submitting the Accident Report and photo documentation.
Mandatory documents in the car
- Driver's license: Valid and with the appropriate authorization.
- ID card or passport: For identity verification.
- Registration certificate (Part I): "Small vehicle registration document".
- Green card: Proof of liability insurance. From January 2025, you can also present it in electronic form (PDF on your smartphone).
Documents only for certain groups:
- Drivers over 65: Certificate of medical fitness.
- Professional drivers: Certificate of psychological fitness and driver qualification card.
What you don't have to (or must not) carry in the car:
- Large vehicle registration certificate: It does not belong in the car and you must not have it with you (it belongs at home in a drawer).
- STK and EK protocols: Paper cards have been abolished, the police verify validity electronically via the license plate number.
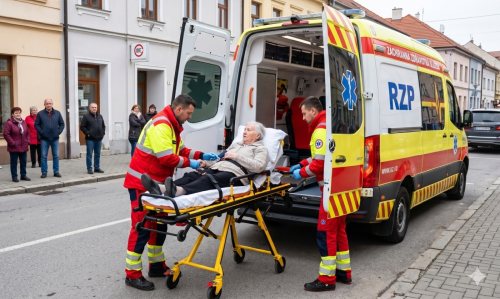
How to behave when calling the emergency line
When calling the emergency line, it is crucial to keep a cool head. The operator on the other end is a trained professional and will guide you step by step. Your task is not to panic and to answer questions as clearly as possible.
1. Choose the correct number: 155 or 112?
- Call 155 (Emergency Medical Service): If it is exclusively a medical problem (heart attack, unconsciousness, severe injury, choking). You will be connected directly to a medical operator, saving you seconds.
- Call 112 (Integrated Rescue System): If it is a traffic accident, fire, or a situation where, in addition to an ambulance, you also need the police or firefighters.
2. What you must tell the operator
Do not stray from the topic and always answer exactly what is asked:
- WHERE it happened: In the village, state the street and number, in the mountains the path, kilometer marker or landmarks (bridges, gas stations).
- WHAT exactly happened: Briefly describe the situation (e.g., „collision of two cars“, „man collapsed and is not breathing“).
- WHO it happened to: State the number of injured, their condition (consciousness, breathing, bleeding), age, and gender.
- WHO is calling: Your name and phone number for return contact.
3. Communication principles during the call
- Turn on speakerphone: You will have your hands free to provide first aid.
- Listen to the operator's instructions: The operator will instruct you on how to stop bleeding or resuscitate until the ambulance arrives.
- Don't worry about delaying: While the operator is advising you, the ambulance is already on its way. The data is being sent to the crew simultaneously.
- Never hang up first: The operator will end the call only when they have all the necessary information.
4. What to do without a GSM signal?
- Line 112: Try dialing it even without your operator's signal (the phone will use another operator's network). Try restarting your mobile and selecting "Emergency call".
- HZS app: Press the button to call for help. The app will send an emergency SMS with GPS location, which will go through even with minimal signal.
- Movement: If the situation allows, move higher toward the ridge or to an open area.
5. HZS Application
- Application website: https://app.hzs.sk/
-
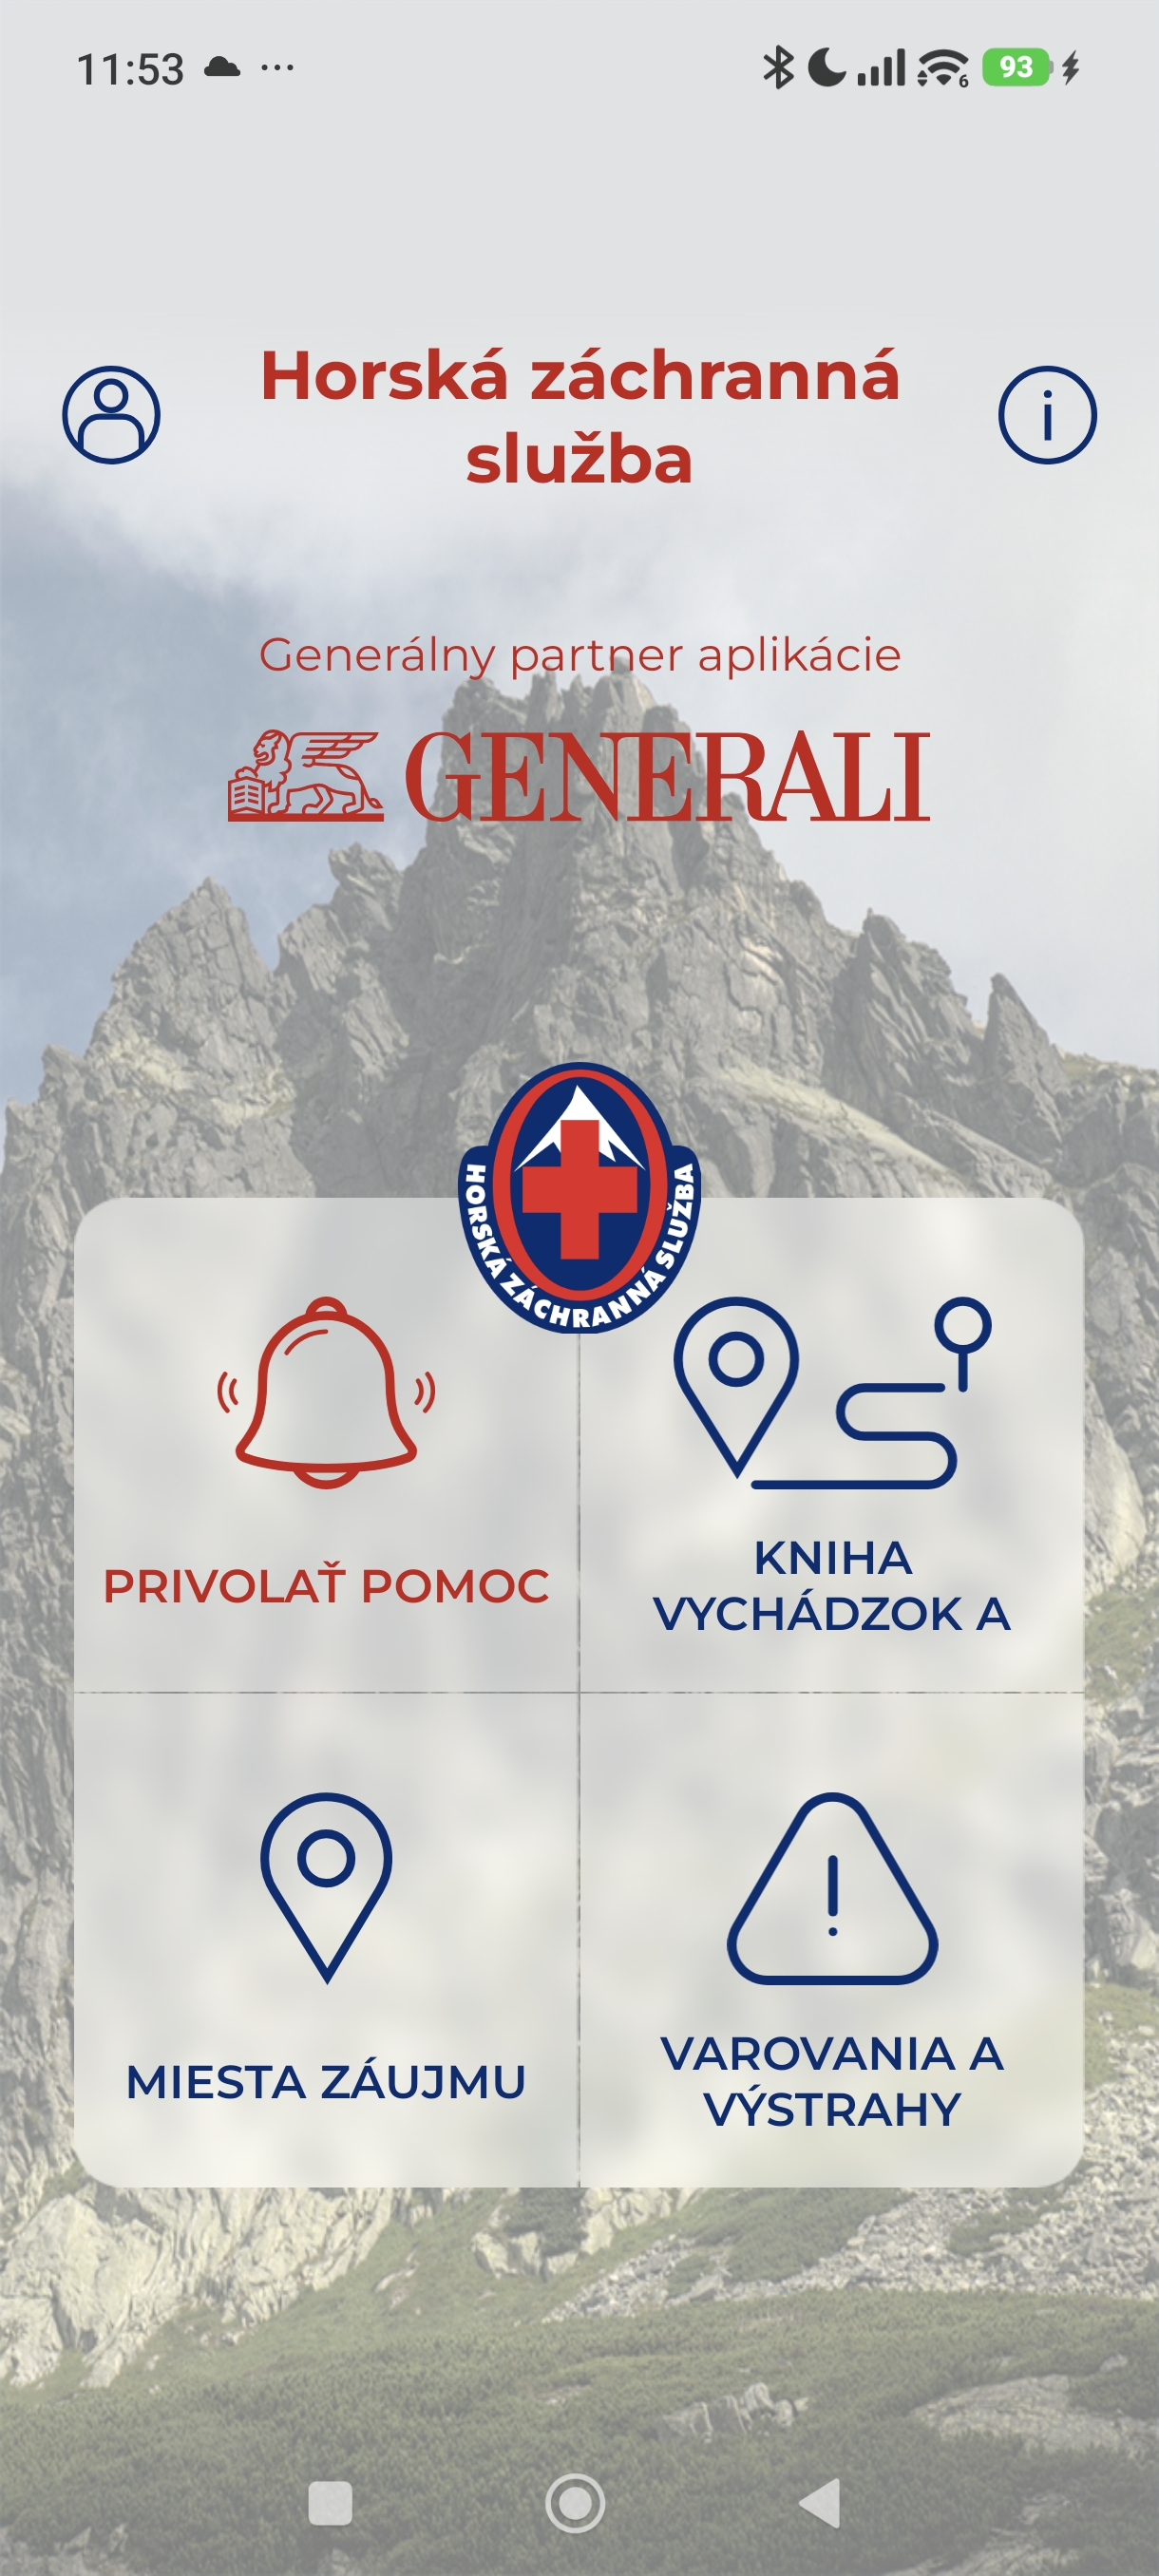
Overview of key features of the HZS App
Overview of key functions for readers:
-
Call for help: Quick connection to the HZS dispatch with automatic transmission of precise coordinates and health status information.
-
Book of departures: A virtual tour in which the hiker enters the planned route and return time. If they do not report back and confirm a safe return within the set time, the system automatically alerts rescuers.
-
Places of interest: A practical map overview of important points such as mountain huts, emergency shelters, HZS stations, or automated external defibrillators (AED).
-
Warnings and alerts: Current information about avalanche danger, trail closures, and adverse weather in individual mountain ranges.
-
-
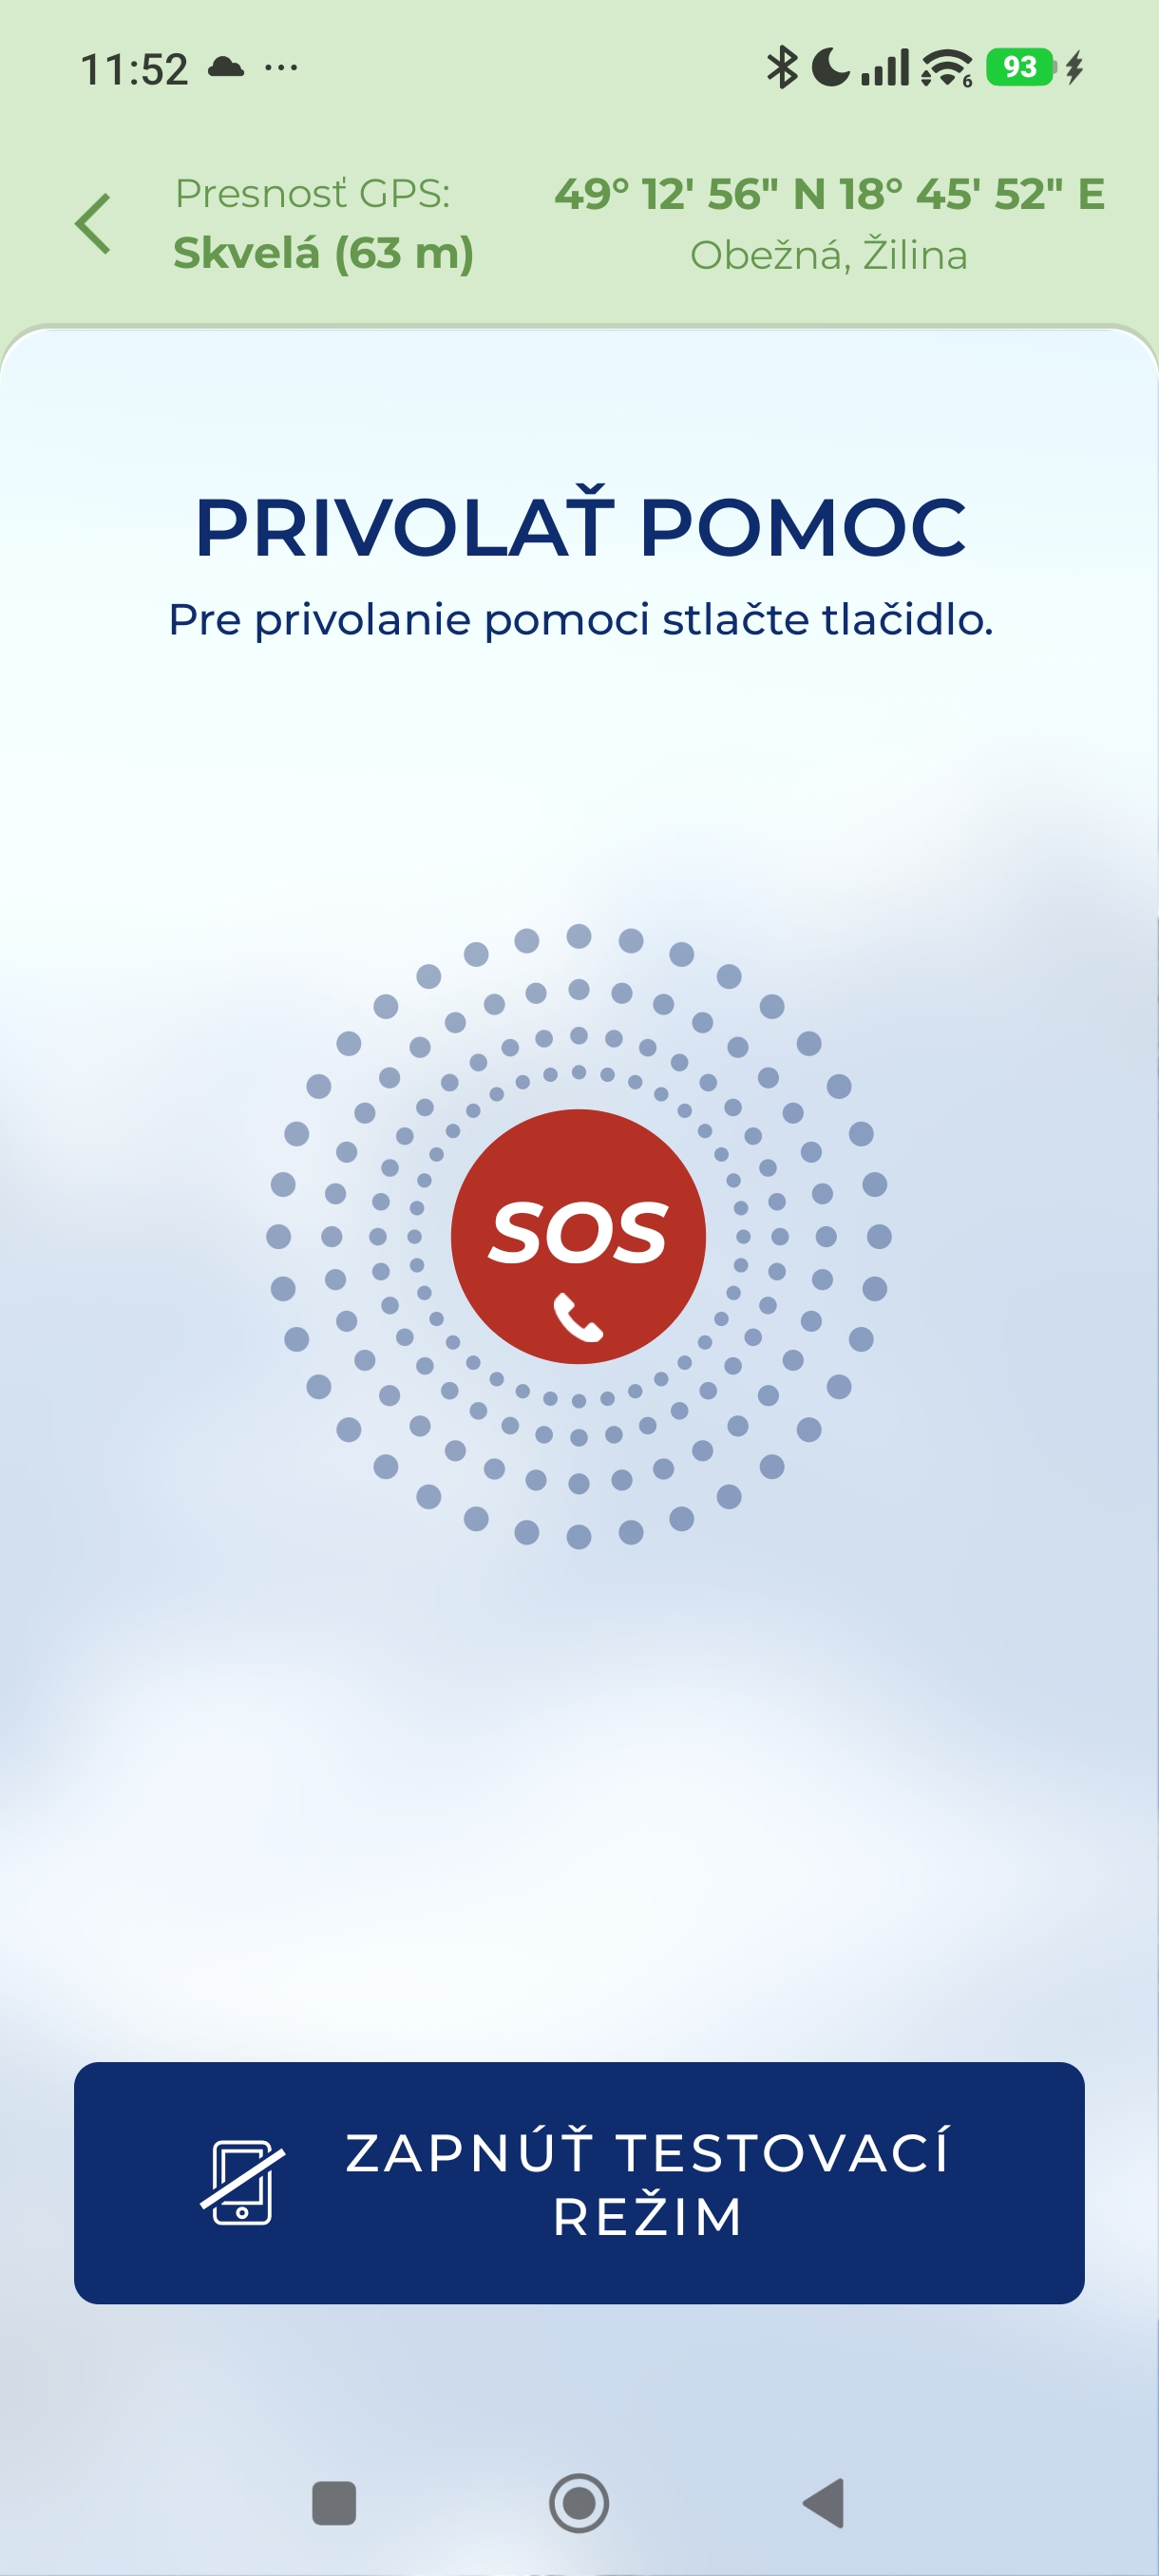
SOS button
Key elements on the screen:
-
Central SOS button: The dominant red button in the center of the screen serves to immediately send an emergency signal and connect with the HZS dispatch with a simple press.
-
Automatic GPS location and accuracy: At the top of the app, it constantly monitors and displays the user's current position, including precise geographic coordinates and deviation in meters (in this case with excellent accuracy of 63 meters). This data is automatically sent to rescuers when the alarm is activated.
-
Test mode: The dark blue button at the bottom „Turn on test mode“ is an extremely practical feature that allows hikers to try out the process of calling for help in a dry run, without the risk of unnecessarily burdening the emergency line.
-
-
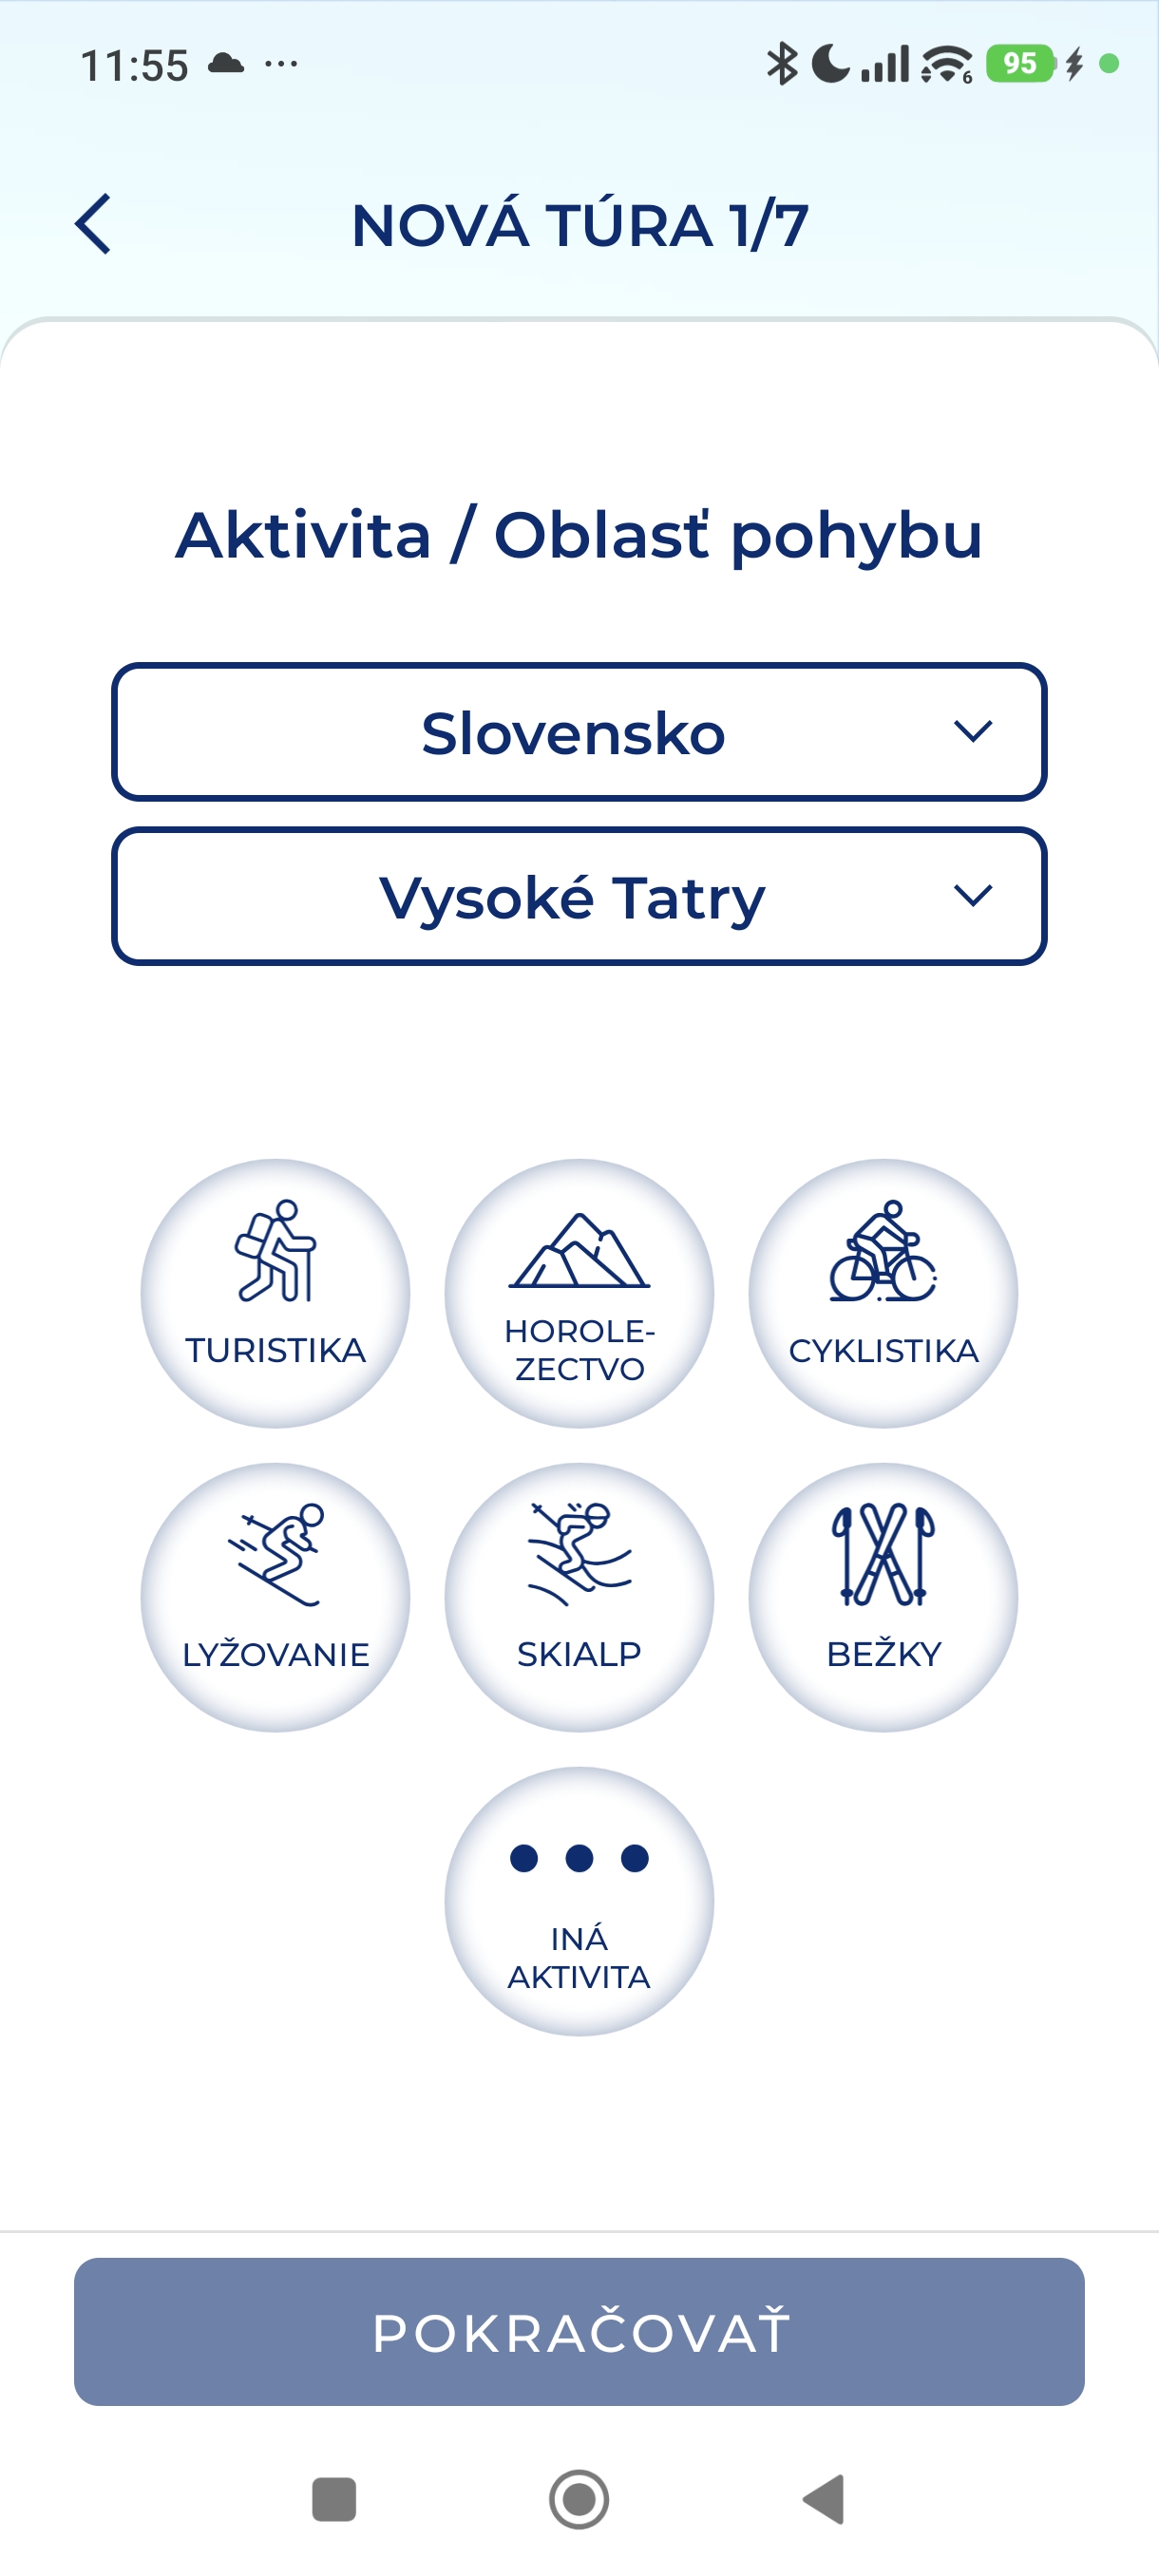
Book of departures
The first step in planning a route in the „Kniha vychádzok“ (New Tour 1/7) function serves to precisely specify the location and type of mountain activity, which in the event of a missing person will provide rescuers with key information for deploying the right technique and tracker.
Alpine emergency signal
If technology fails, use an audible (whistle, shout) or light signal: 6 times per minute (every 10 seconds), then a 1-minute pause. The rescuers' response is 3 times per minute.
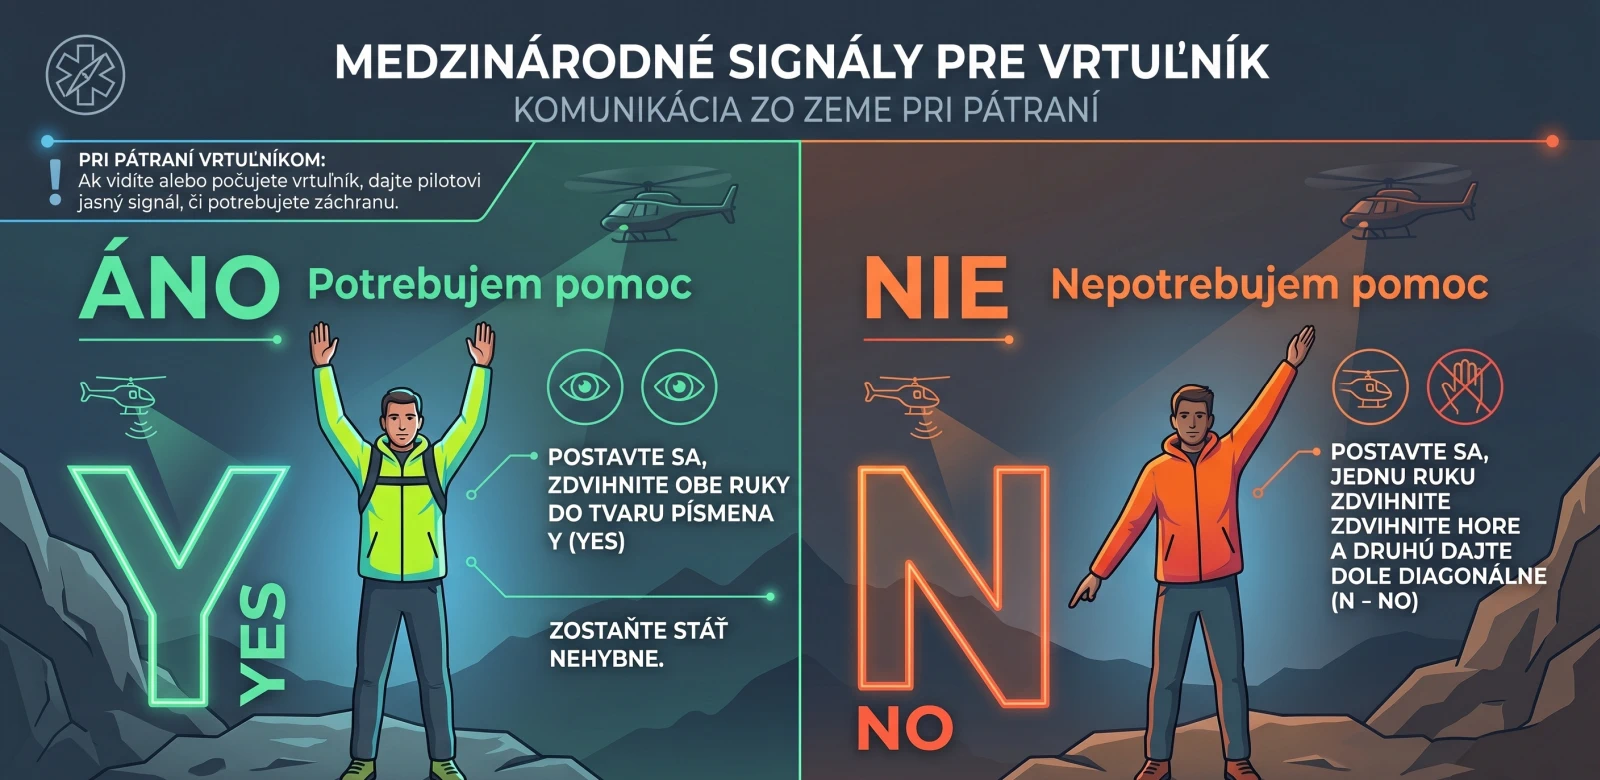
Key principle to conclude
The best rescue without a signal starts even before the hike. Always inform someone of your route and expected return time. If you don't check in, your loved ones will alert the Mountain Rescue Service (HZS), which will know exactly where to look for you.
Emergency department
Pharmacies
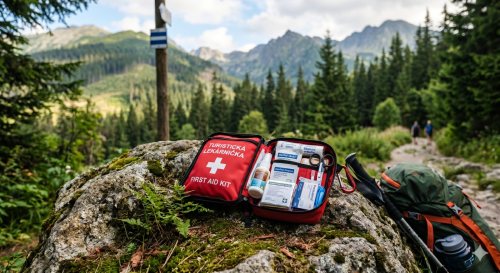
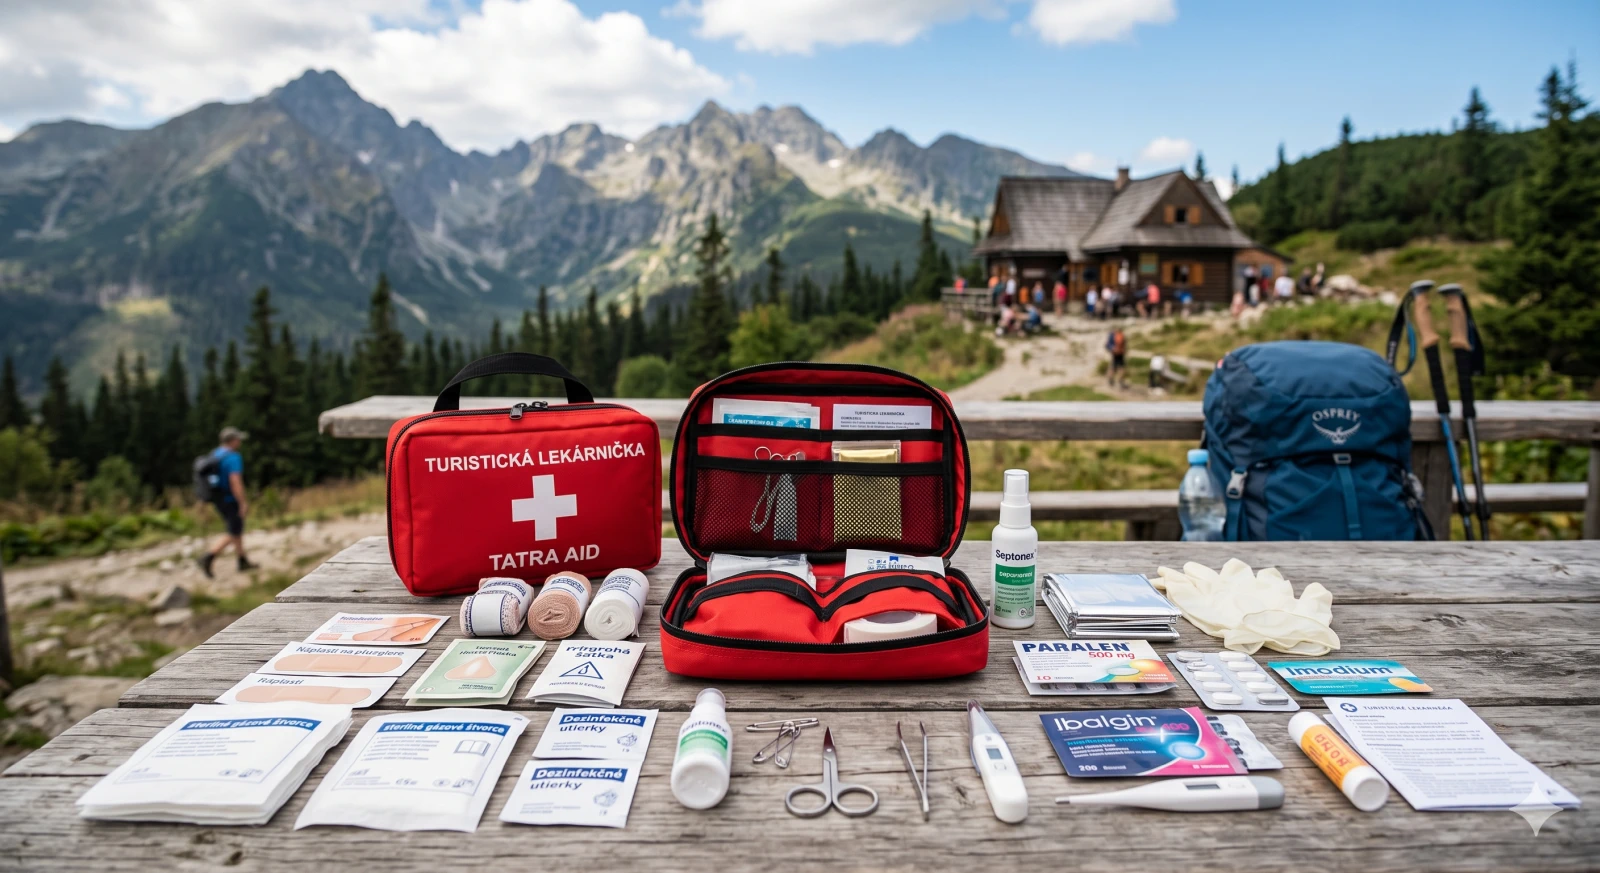
The contents of a hiking first aid kit should be a compromise between weight and the ability to treat the most common injuries and sudden health complications.
1. Treatment of wounds, abrasions, and blisters
This is an absolute must. In the mountains, you can easily get scratched by rocks or get blisters from your boots.
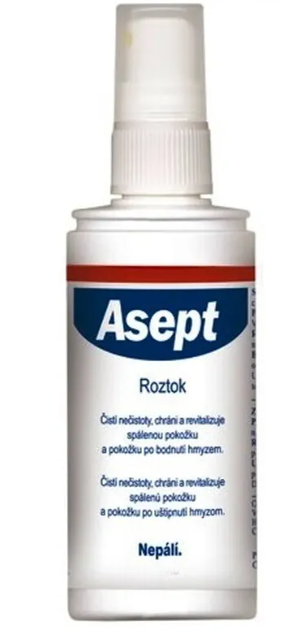
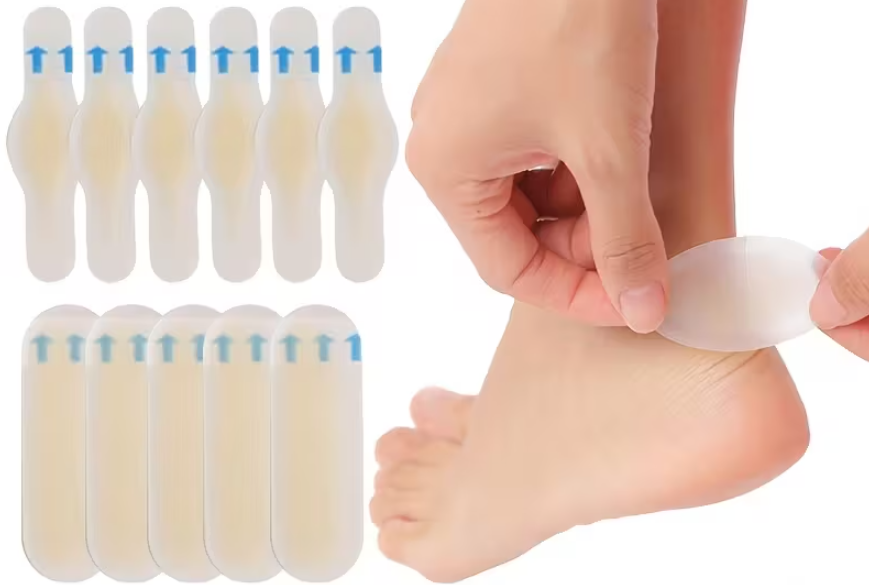

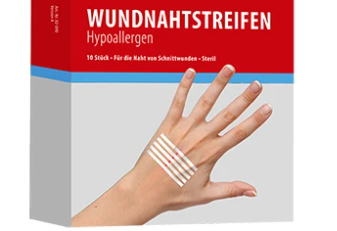
- Classic plasters: Various sizes, ideally waterproof and elastic, plus a roll of plaster for fixation.
2. Fixation and support (Sprains and fractures)
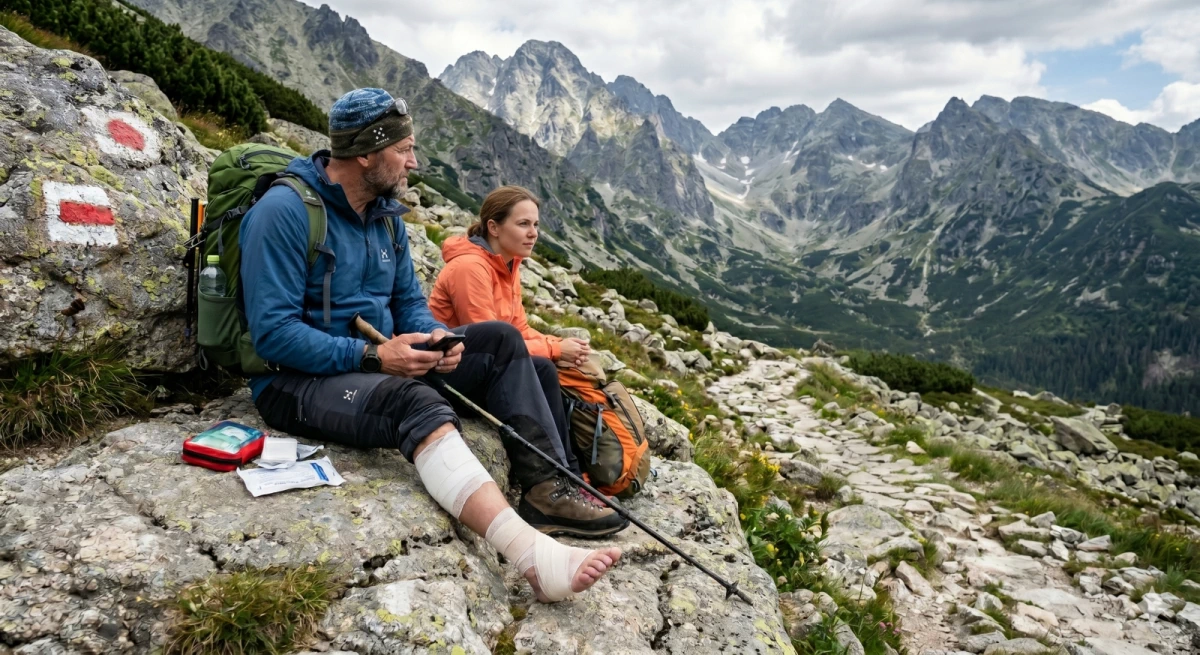
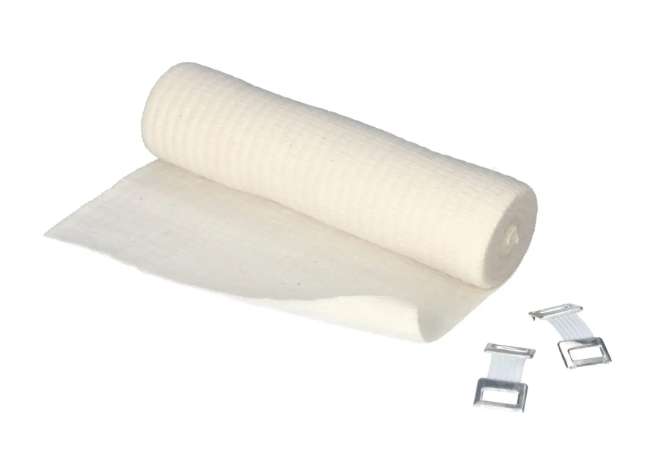

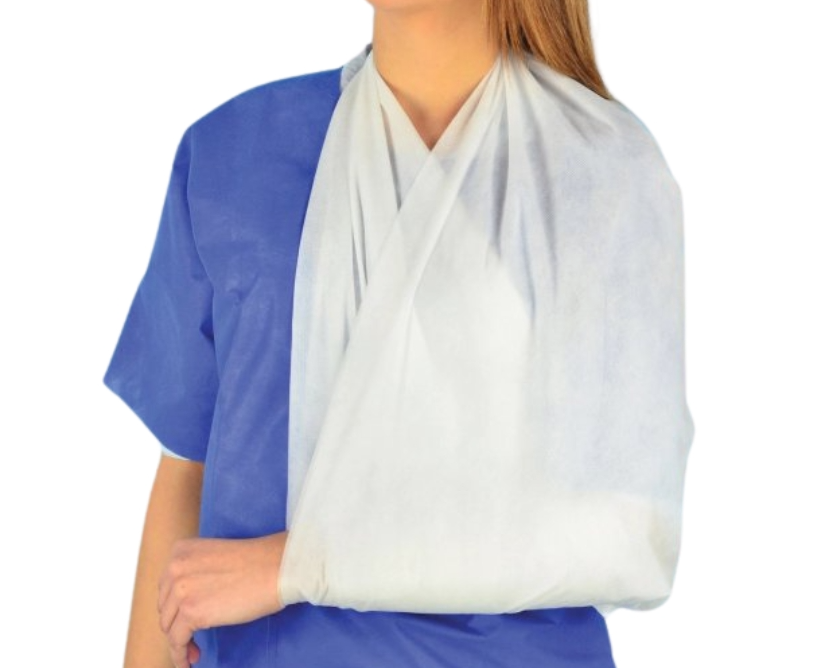
3. Basic medications (Over-the-counter)
- For pain and inflammation: Ibuprofen (Ibalgin) for inflammation, Paracetamol (Paralen) for fever. A few tablets in a blister pack are enough.
- Anti-diarrheal: Loperamide (Imodium) or activated charcoal.
- Antihistamines: For allergic reactions (tablets) and gel for insect bites (Fenistil).
- Eye drops: To rinse out dust, pollen, or insects from the eye.
4. Tools and accessories
- Isothermal foil: Absolutely essential! Prevents hypothermia of the injured person while waiting for help.
- Scissors and tweezers: Small stainless steel scissors with blunt tips and metal tweezers for splinters or ticks.
- Safety pins: For quick fixing of a scarf or torn clothing.
- Disposable gloves: At least 1–2 pairs (nitrile) for hygienic protection when treating another person.
Important principles to conclude
- Water resistance: Store everything in a waterproof container (e.g., a sturdy zip-lock bag). A damp bandage and spoiled medications are useless in the field.
- Regular check: Before each season, check the expiration dates of medications and replenish used plasters.
- Knowledge: A first aid kit is only as good as your first aid knowledge. Review the basics of treatment before your hike.
- Personalization: Don't forget your specific medications that you regularly take (blood pressure, diabetes, asthma spray, epipen).
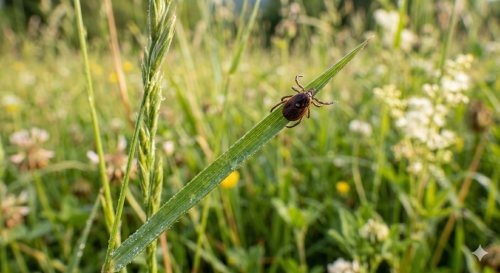
How to properly remove a tick
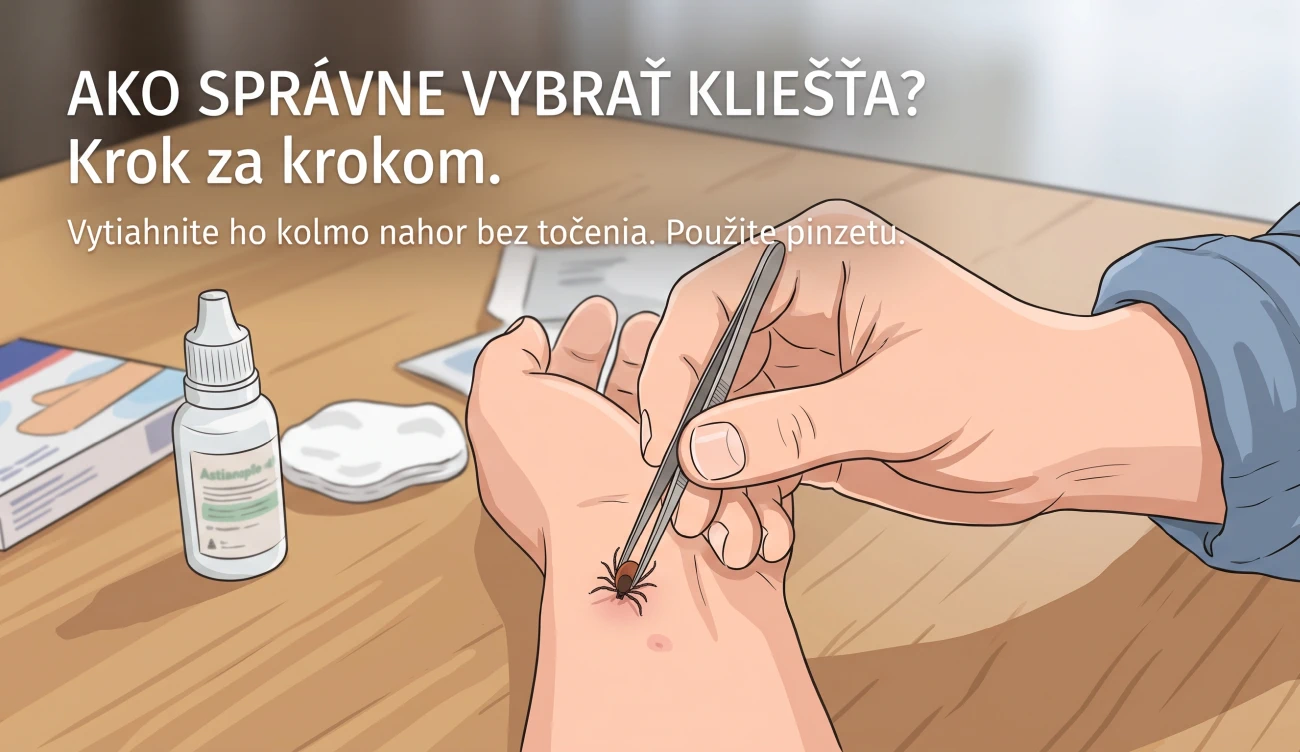
- Prepare the right tools: Use fine tweezers, special tick removers, a hook, or a tick removal card.
- Grasp the tick correctly: Catch it as close to the skin surface as possible, ideally by the head, not the abdomen.
- Pull slowly and straight: Remove the tick with a smooth, steady pull straight upward.
- Check the wound: If the head remains in the skin, do not despair, the body will deal with it like a splinter.
- Disinfect the area: Clean the wound and your hands with alcohol, iodine tincture, or soap.
- Safely dispose of the tick: Flush it down the toilet or wrap it in tape. Never squeeze it with bare fingers.
What you should definitely NOT do (common myths)
- Do not twist it: A tick has no thread, it may tear off.
- Do not use oil, ointment, or nail polish: Suffocating the tick will cause it to regurgitate the contents of its stomach (and any infections) into your blood.
When to see a doctor
For the next 30 days, monitor the bite site. Visit a doctor if the following appears:
- Erythema migrans: A red spot that enlarges and fades in the center (looks like a target).
- Flu-like symptoms: Fever, chills, fatigue, muscle and joint pain.
Tip: Note the date you found the tick. Your doctor will appreciate this information if symptoms occur.
Tick-borne diseases
1. Tick-borne encephalitis (Vaccination EXISTS)
It is a viral disease attacking the brain. Vaccination is the best protection. The basic schedule consists of three doses (ideally starting in winter). A booster is needed after 3 years and then every 3 – 5 years.
Tick-borne encephalitis most often manifests as a two-phase disease, which attacks the central nervous system 7 to 14 days after infection. Unlike Lyme borreliosis, the tick-borne encephalitis virus does not cause a typical red spot on the skin. Transmission occurs either by tick bite or by consuming unpasteurized dairy products (especially sheep and goat).
1. Phase – “Flu-like” (lasts 2 to 6 days)
After the incubation period, symptoms similar to a common viral infection appear. Many patients in this phase do not even suspect it is encephalitis:
- Elevated temperature to fever
- Headaches, joint and muscle pain
- Marked fatigue and weakness
- Nausea, loss of appetite, or vomiting
After this phase, a period of apparent calm (without symptoms) usually occurs, lasting 1 to 20 days. In some people, the disease completely heals at this point.
2. Phase – Neurological (inflammation of the brain and meninges)
If the virus penetrates the nervous system, a second, much more severe phase with high fevers begins:
- Sudden and unbearable headaches, stiff neck (inability to tilt the head forward so that the chin touches the chest)
- Photophobia (sensitivity to light) and vomiting
- Dizziness, tremor, balance and coordination disorders
- Disorientation, memory disorders and confusion
- Paralysis of muscles, especially in the face or upper limbs
2. Lyme disease (NO vaccine exists)
Bacterial disease for which there is currently no vaccine. The good news is that if caught early, it can be successfully treated with antibiotics. Prevention is the only protection. Lyme disease most often manifests 1 to 4 weeks after a tick bite. The main warning sign is an enlarging red spot with a pale center (erythema migrans). Accompanying symptoms include general fatigue, fever, headache, muscle and joint pain. Early antibiotic treatment is crucial.
How to create a "bulletproof" shield
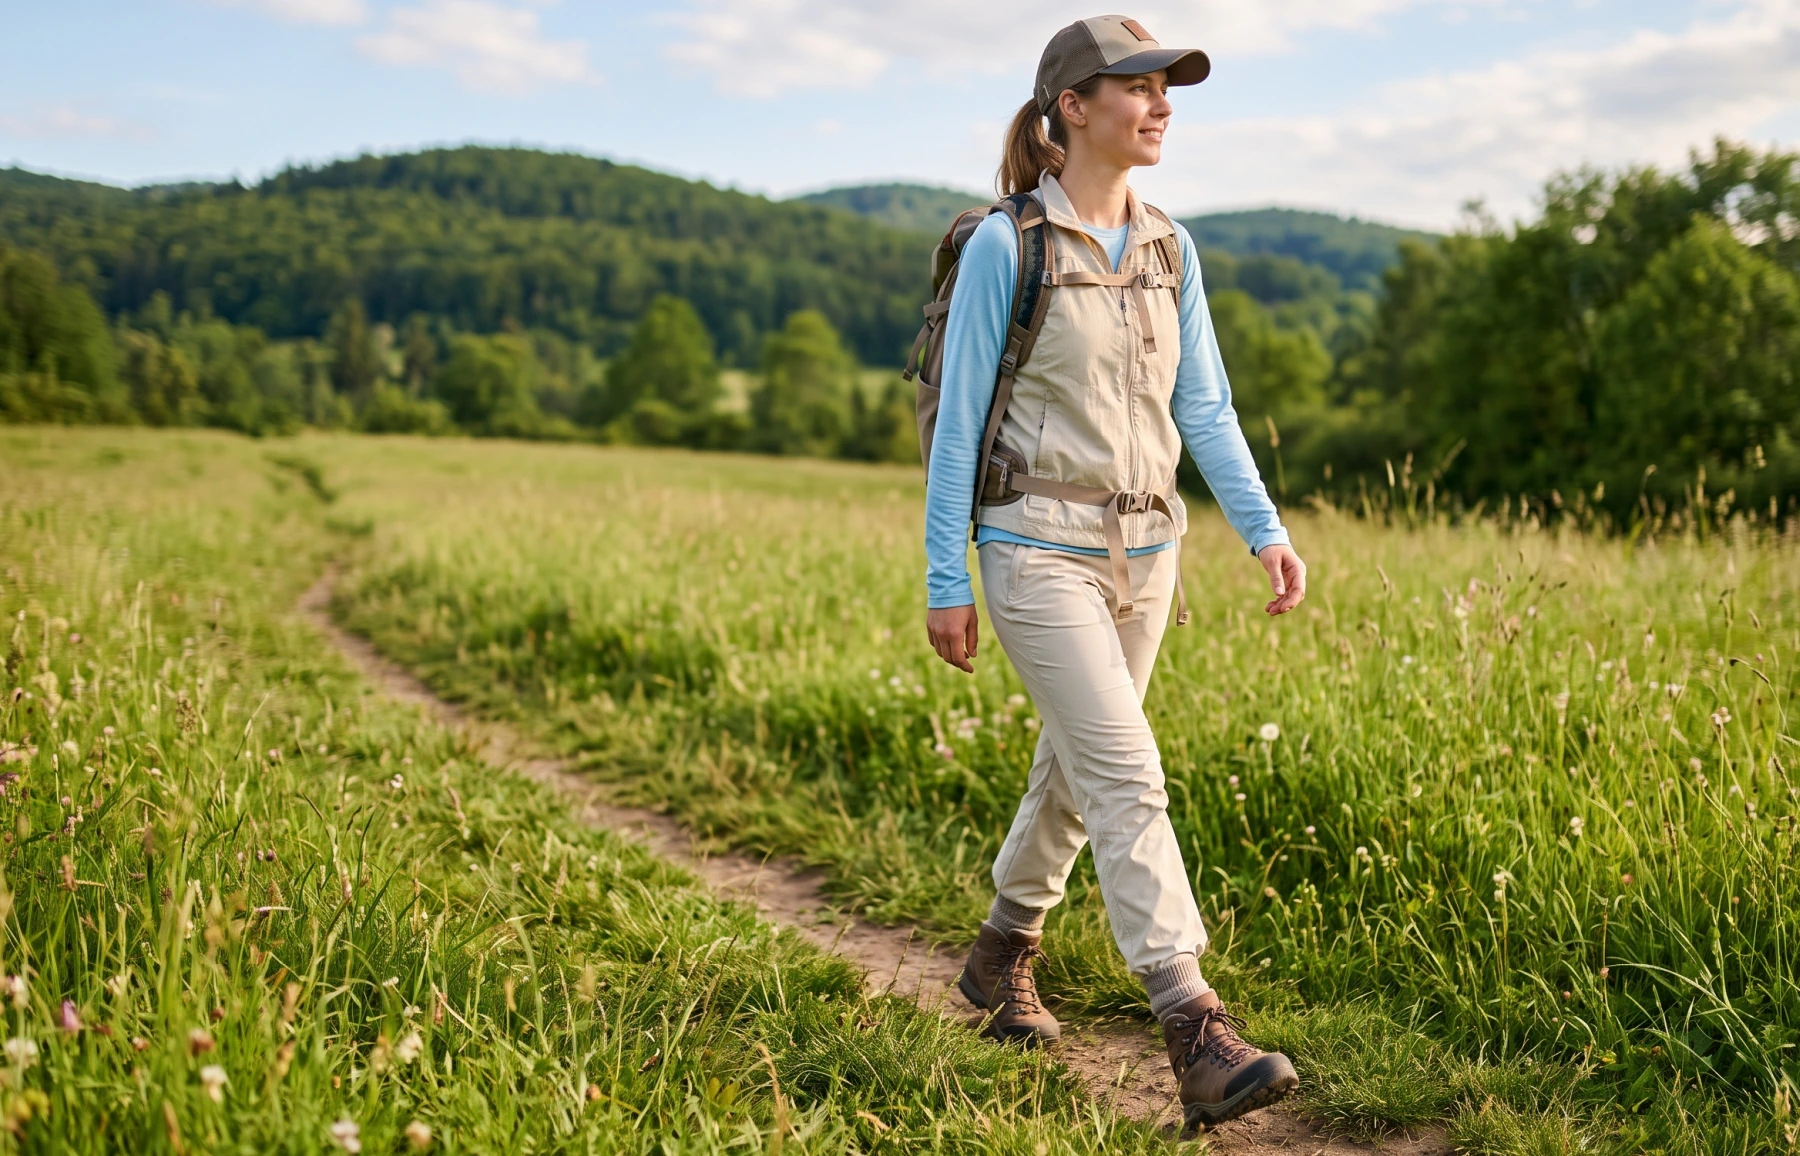
1. Clothing (Mechanical barrier)
- Wear light colors (you will see the tick sooner).
- Long sleeves and trousers are essential.
- Trick: Tuck your trousers into your socks – the tick cannot get under them to your skin.
2. Proper chemistry
- Skin repellents: Look for DEET (at least 20-30%) or Icaridin.
- Permethrin for clothing: It is not sprayed on the skin, but on clothing and footwear. After drying, it lasts through several washes and kills ticks.
3. Movement in the terrain
- Stay in the middle of the trails. Ticks wait at the edges of meadows and in the grass (not in the treetops!).
4. Ritual after returning
- Immediate shower (will wash off ticks that have not yet attached).
- Thorough body check (armpits, groin, knees, navel, behind the ears).
- Put clothes in the dryer on high heat – dry heat will kill ticks.
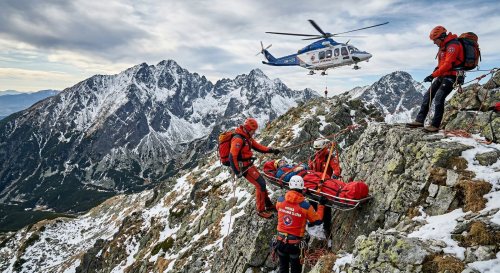
The choice of insurance depends mainly on how often you go to the mountains and what activities you do there.
1. Choose the validity period
| Type of insurance | Indicative price | Who is it suitable for |
|---|---|---|
| One-day / Short-term | from approx. €0.70 / day | Occasional tourists, one-time weekend trips or family skiing. |
| Year-round | from approx. 18 € – 40 € / year | Anyone who goes to the mountains more than 3–4 times a year. It's also worth it for convenience (you don't have to think about it before every hike). |
2. Comparison of approaches of Slovak insurance companies
In Slovakia, most relevant providers (Allianz, Union, Generali, Uniqa, Kooperativa, and others) offer mountain insurance, but their offers differ in details and limits:
Allianz – The most universal basic
- Advantages: Price from approx. €0.70 per day. Very favorable conditions also for seniors over 70 years (where other insurance companies often limit or exclude coverage).
- Limits: Standard coverage of HZS rescue costs is around €16,600, which is usually sufficient for Slovak mountains.
Union – Best for policyholders and quick purchases
- Advantages: If you also have health insurance with Union, you get a discount on mountain insurance (often up to 50%). They also offer advantageous discounts for students (ISIC) and young people under 26. Easy to take out even via SMS before starting a hike.
- Packages: Option to choose from purely basic HZS coverage up to packages with accident insurance and baggage insurance.
Generali – Great for groups and skiers
- Advantages: The basic package (from approx. 0.80 €/day) covers not only hiking, but also regular recreational skiing and cross-country skiing on marked trails. They offer a discount if you insure several people at once (family or group).
- Extreme package: A clearly separate package for riskier sports for an additional fee.
Alpenverein Membership (Alternative for Active People)
- Advantages: If you engage in ski touring, climbing, freeriding, or frequently visit the Alps and the Tatras, consider an annual membership in the Austrian Alpine Club (Alpenverein). For the membership fee (approx. €70/year), you get worldwide mountain rescue insurance with high limits (including extreme sports) and discounts at mountain huts.
3. What to watch out for (Insurance exclusions)
The insurance company may refuse or reduce the reimbursement of the HZS intervention if you violate the basic rules. The most common exclusions:
- Alcohol and intoxicating substances: If you have three beers at the chalet and break your leg on the descent, the insurance company will not reimburse the rescue call-out.
- Violation of HZS instructions: Movement on closed trails (e.g., during winter closure in the Tatras or when an avalanche warning is issued).
- Extreme sports in the basic package: Ski touring, climbing, via ferratas (from a certain difficulty), paragliding or off-piste riding (freeride) require additional insurance for risky/extreme sports. They are not covered in the basic package.
Our recommendation
If you go to the mountains regularly (at least a few times a year), the most sensible choice is year-round insurance for Slovak mountains. It costs around 20 euros per year, is valid automatically on every trip, and you don't have to think about sending an SMS before each hike. If you also plan via ferratas or ski touring, check whether the given package covers them, or choose the "Extreme" / high-risk sports version.
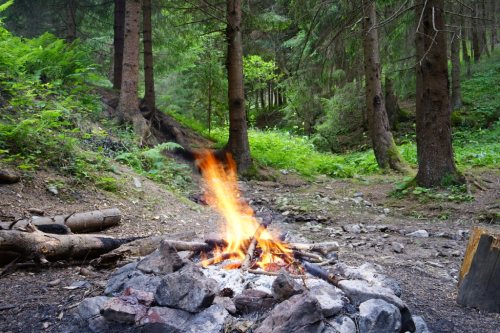

In general, it is forbidden to make fires in nature. Public fire pits and campsites are designated for this purpose. However, people often make fires themselves and at their own risk. Therefore, it is appropriate to mention a few safety tips. Never make a fire in national parks and protected landscape areas – it is prohibited by law and such conduct carries high fines. In the event of a fire, we would endanger a large amount of rare fauna and flora.
If we have decided to make a fire in nature, let's follow these principles:
- The place where we make the fire pit should be cleaned (remove dry leaves, needles, and branches).
- The fire pit should be lined with stones. We line it so that glowing embers don't roll outside the fire pit.
- Let's not make a fire in extremely dry places and without access to water.
- Always have enough water with us to extinguish it. It's best if there is a stream, river, or well nearby.
- Never leave a fire unattended!
- After finishing, the campfire we thoroughly douse with water. Before we leave it, we thoroughly make sure that it no longer smokes at all and the ashes are cold.
Prevention and movement in the forest
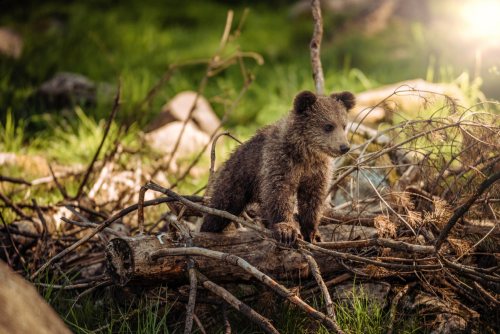
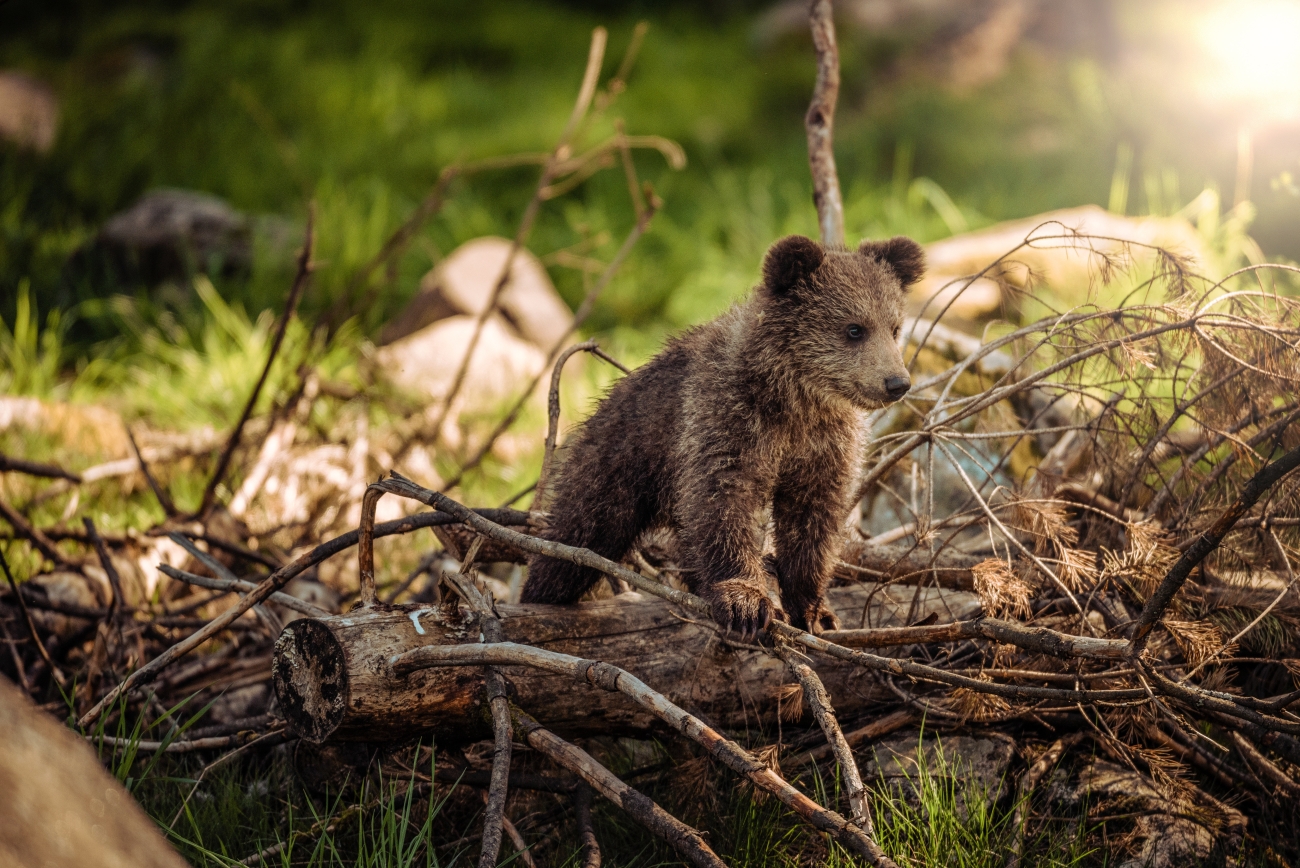
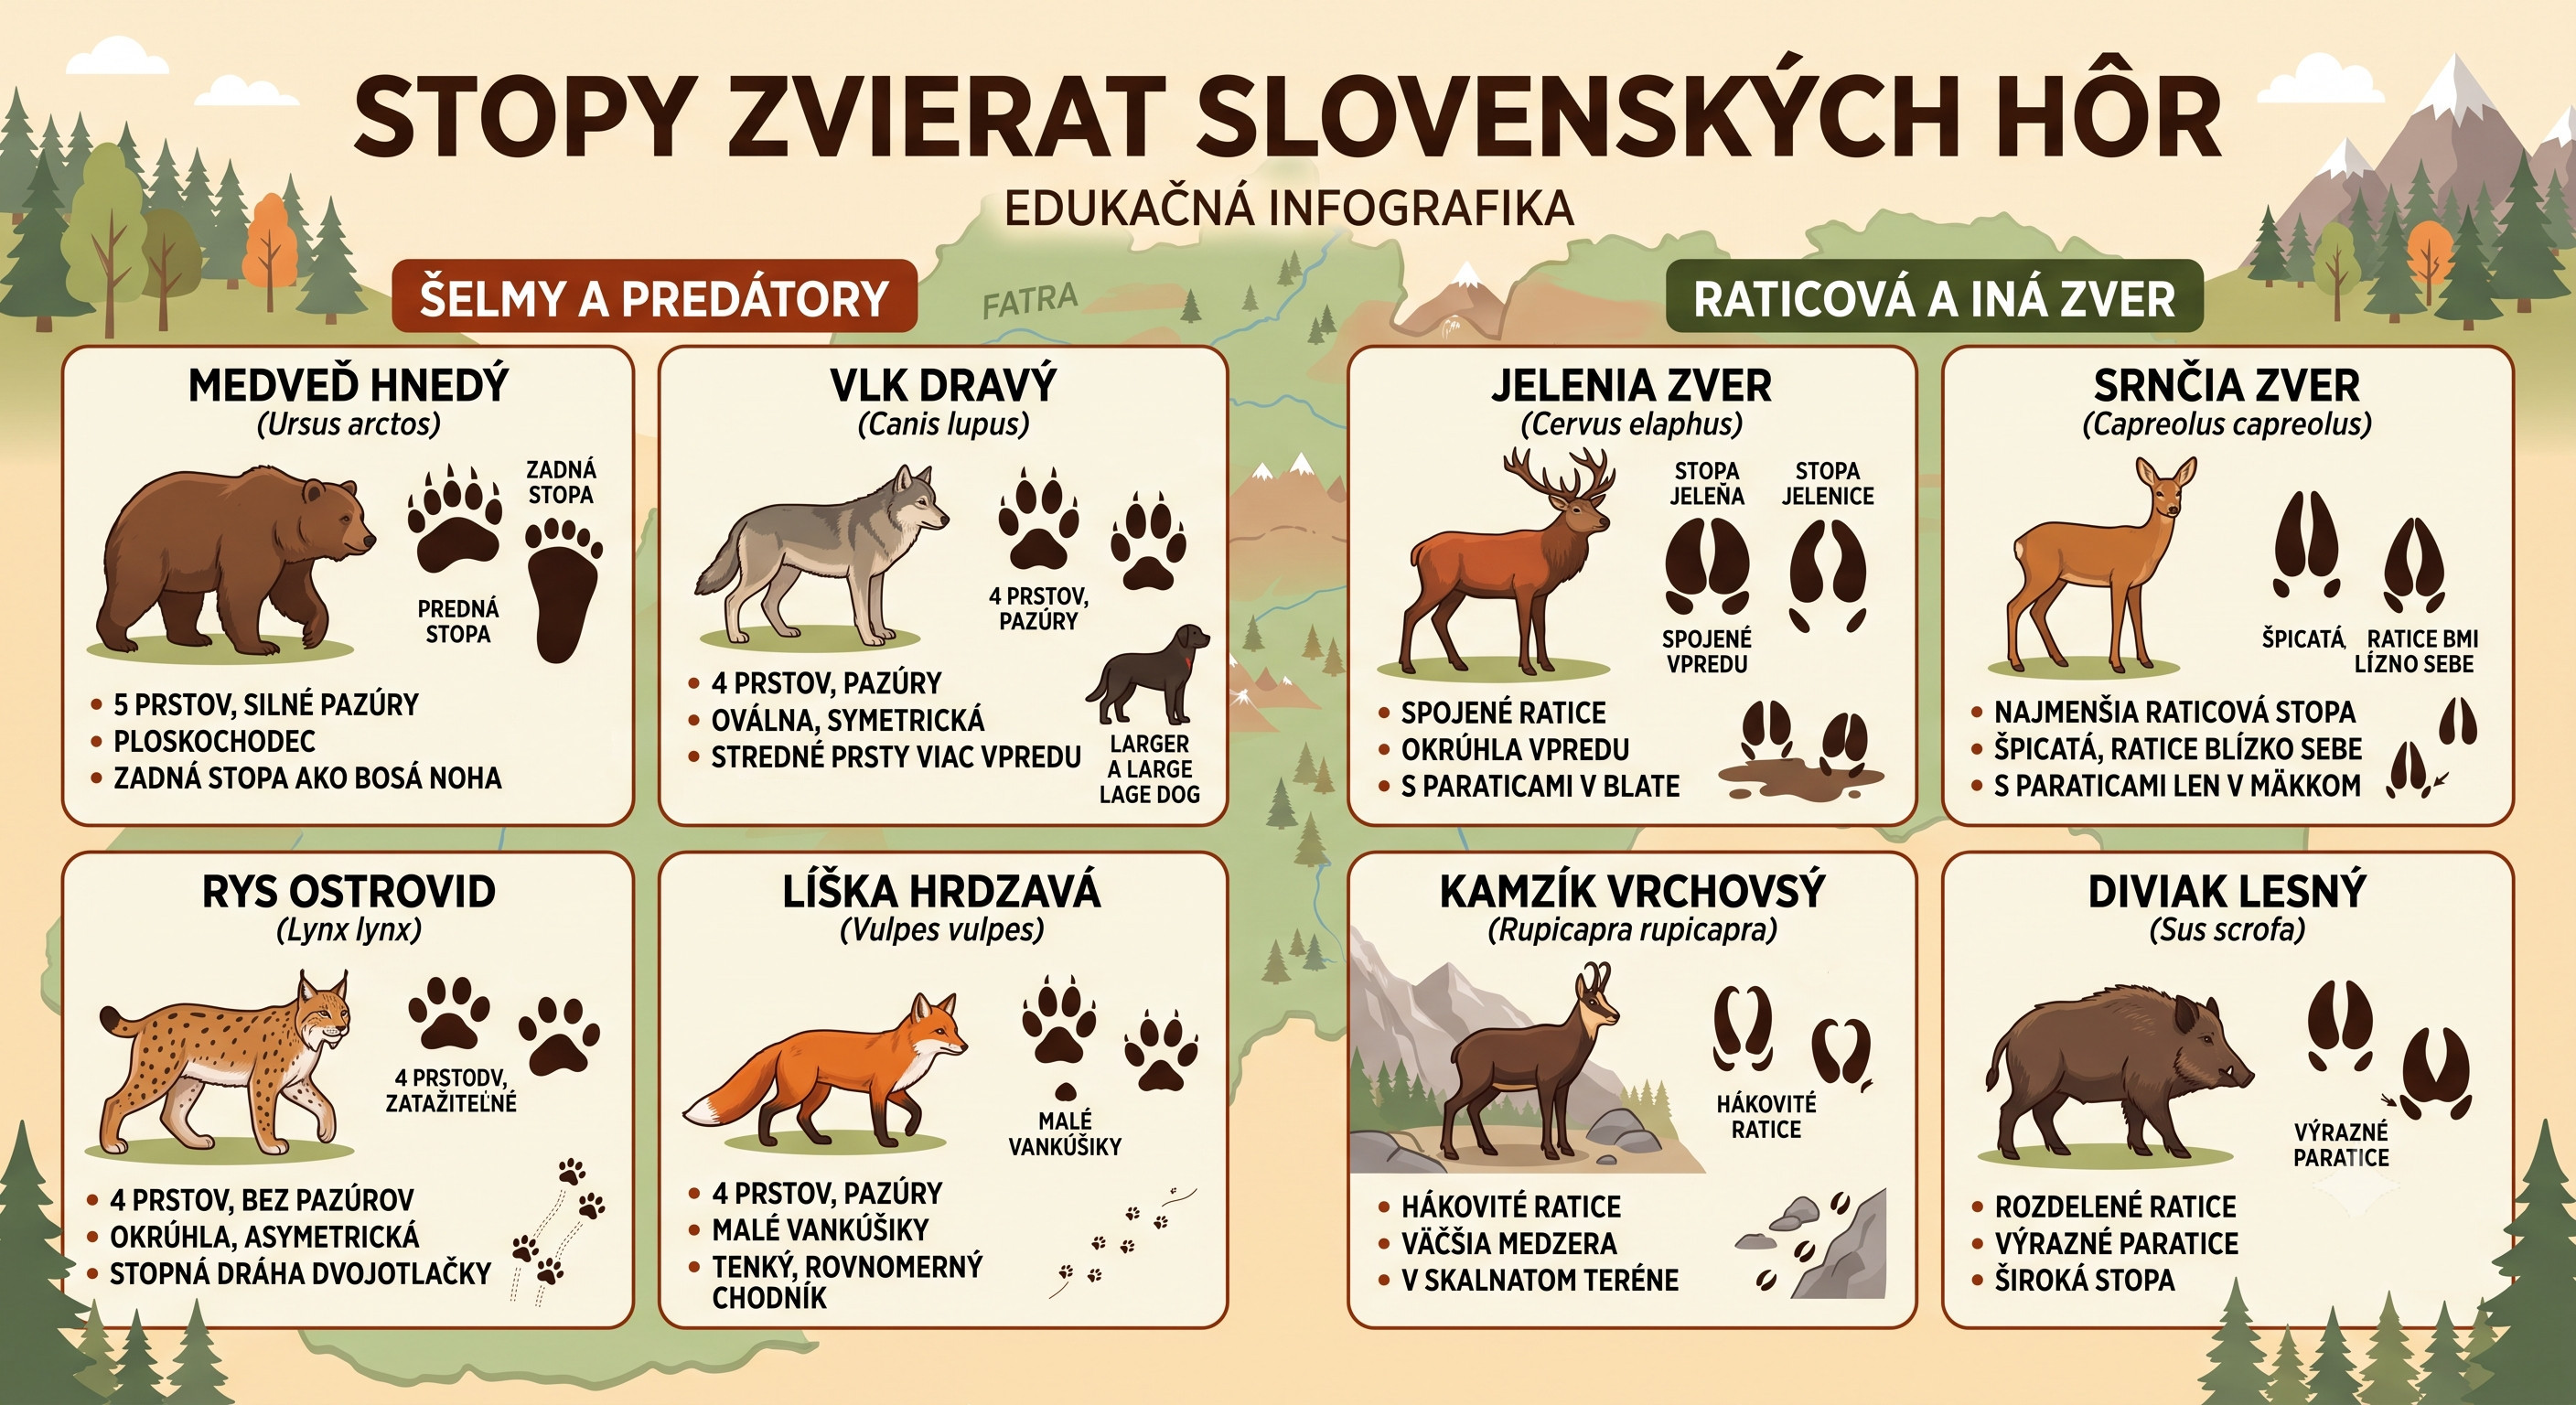
Increased vigilance will help especially in the morning, evening, and at night, when bears are more active, as well as during the day in dense vegetation. It is useful to know how to recognize signs of bear presence, such as tracks it leaves behind.
When moving in the forest, be predictable. If visibility is limited, talking, whistling, or breaking a branch underfoot helps to alert the bear to your presence in advance. In dense terrain, carrying a bell or a whistle can help (with the exception of so-called "garbage bears" accustomed to people). The bear has excellent hearing and smell – if it knows about you before you meet, it will avoid you 99% of the time.
To increase safety, you can get bear defense spray containing capsaicin. When choosing, the decisive factors are the spray distance (the highest quality sprays can reach a target up to 10 meters), the content, and the spray duration. If the situation forces you to use the spray, pay attention to the direction of the wind so that the substance does not get into your eyes and mouth.
Two types of attacks
It can happen that you surprise a bear – for example, if the wind is not blowing from you towards it and it doesn't manage to register you in time. The closer you are to the bear and the later it notices you, the higher the probability of defensive behavior. A bear acting in self-defense considers you a threat to itself or its cubs. Sometimes it only makes a warning lunge to drive the person away. Most often, such a lunge ends before physical contact occurs.
1. How to behave when the bear hasn't noticed us yet
- Stay calm and carefully assess the situation.
- If the bear is not aware of you, calmly and quietly return the way you came. Keep observing its behavior continuously.
- Try to give it enough space and a clear escape route.
- In this situation, do not make any sounds, do not talk, and do not shout.
- Never approach the bear.
2. If the bear has spotted you but is not approaching
- Stay calm and do not run away – sudden movement may provoke it to chase you.
- If it stands on its hind legs, it is trying to recognize you better by smell and sight. Let it know you are human – speak to it in a calm, deeper voice and slowly wave your arms (avoid sudden movements above your head).
- Try to slowly back away and gradually increase the distance between you.
- If the bear is aware of you and shows no interest, take advantage of the situation and slowly leave.
3. If the bear approaches you
- Stay standing still. Actual attacks occur only rarely.
- If you are in a group, stay close together – the group appears optically larger and more dangerous.
- Do not run unless you are absolutely sure that a safe shelter is literally within reach. A bear can reach speeds of up to 50 km/h and can easily outrun even a professional sprinter.
- Climbing a tree can only help if you manage to get at least 4 meters above the ground. However, remember that young bears are very good at climbing trees.

4. If a bear attacks in self-defense
- Most attacks are warning attacks – the bear wants to intimidate you and often stops or turns away just before physical contact.
- Play dead: If direct contact occurs during a defensive attack, immediately lie down on your stomach.
- Protect your vital organs: Interlock your hands firmly behind your neck and cover your face and head with your elbows. The backpack on your back will serve as an excellent protector for your spine.
- Spread your legs: This makes it harder for the bear to flip you onto your back with its paw. If it succeeds, immediately roll back onto your stomach.
- Stay still: The bear will usually leave once it realizes you are not a threat. Do not get up as soon as the attack stops – it may still be nearby. Wait several minutes in complete silence until you are sure it has gone.
Educational interactive game
Match the images with the correct meaning
Questions
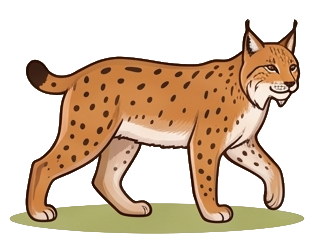


Answers
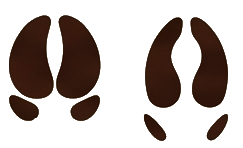
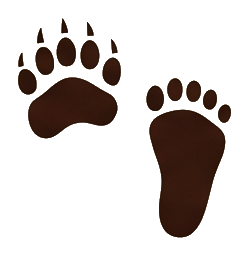
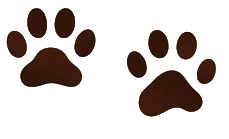
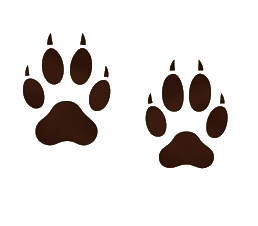
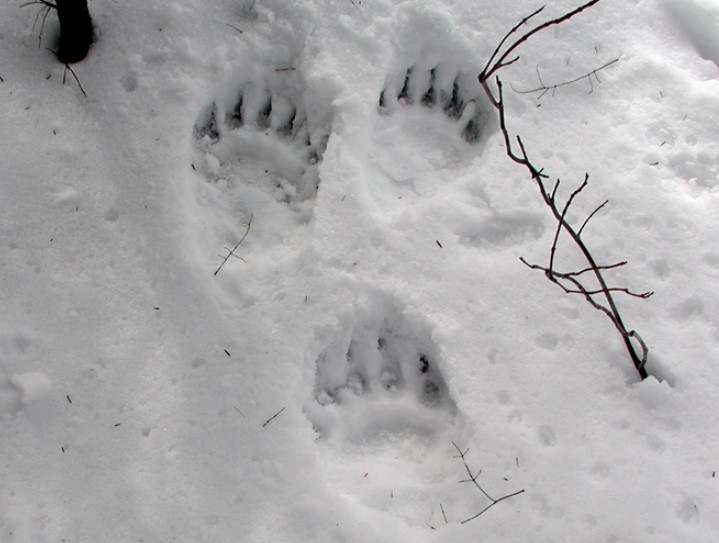
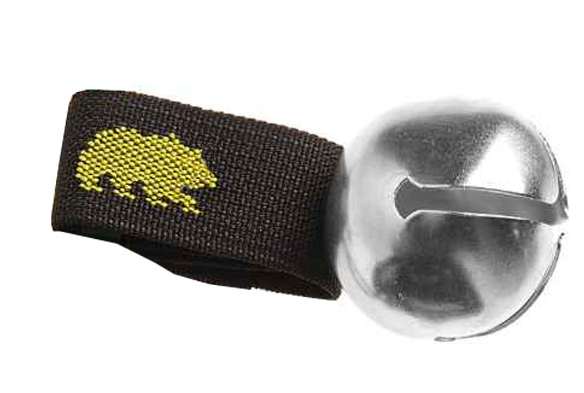
Sources and further information: www.medvede.sk


Photo:Northern viper | Author:BennyTrapp | License: CC BY-SA 3.0
A bite from a common European viper (the only venomous snake in Slovakia) requires immediate medical attention, but first and foremost, it is important not to panic. For a healthy adult, a bite is rarely fatal, but for children, the elderly, people with weaker hearts, or allergy sufferers, it poses a serious risk.
Here are the exact steps to follow, and what to avoid instead.
Part of reducing the risk of encountering an adder is also limiting your movement to marked hiking trails only. Adders like to bask in the sun during the day. If an adder has bitten us, it does not mean that it has necessarily released its venom. If that did actually happen, we would recognize it by symptoms such as swelling and pain at the site of the bite.
What to do immediately after a bite
-
Stay calm and limit movement: Panic, running, or fast walking accelerates the heart rate, causing the venom to spread much faster through the bloodstream. The affected person should sit or lie down immediately.
-
Call for help: Immediately call the medical emergency service at number 155 or the universal emergency line 112.
-
Immobilize the limb: Keep the affected arm or leg completely at rest. It is best to immobilize it with an improvised splint (as for a fracture) and leave it hanging loosely. Do not raise it above heart level.
-
Remove tight items: Immediately take off rings, watches, bracelets, and tight clothing from the injured limb. The area around the wound will soon swell significantly, and these items could act as a tourniquet.
-
Cover the wound lightly: If you have a first aid kit, you can gently cover the wound with a sterile gauze square to keep dirt out. Do not bandage it tightly under any circumstances.
What you should NEVER do (dangerous myths)
When providing first aid after a snake bite, mistakes are often made that significantly worsen the patient's condition.
-
Do not use a tourniquet: Never constrict the limb above the wound. Closing off the blood circulation causes the venom to concentrate in one place, which can lead to extensive tissue death (necrosis) and, in extreme cases, even amputation.
-
Do not suck out the venom with your mouth: It is ineffective and extremely dangerous. The rescuer risks transferring the venom into their own bloodstream through small wounds in the oral cavity, and may also introduce dangerous bacteria into the wound.
-
Do not cut, burn, or otherwise treat the wound: This way you will not get the venom out, you will only worsen tissue damage.
-
Do not apply ice: Cooling the wound is not recommended, as it can cause further damage to an already sensitive area.
-
Do not give alcohol or caffeine: Coffee, energy drinks, or alcohol speed up the pulse or dilate blood vessels, helping the venom spread faster through the body. Give only clean water.
Important note on moving: If you are in difficult-to-reach terrain where the ambulance
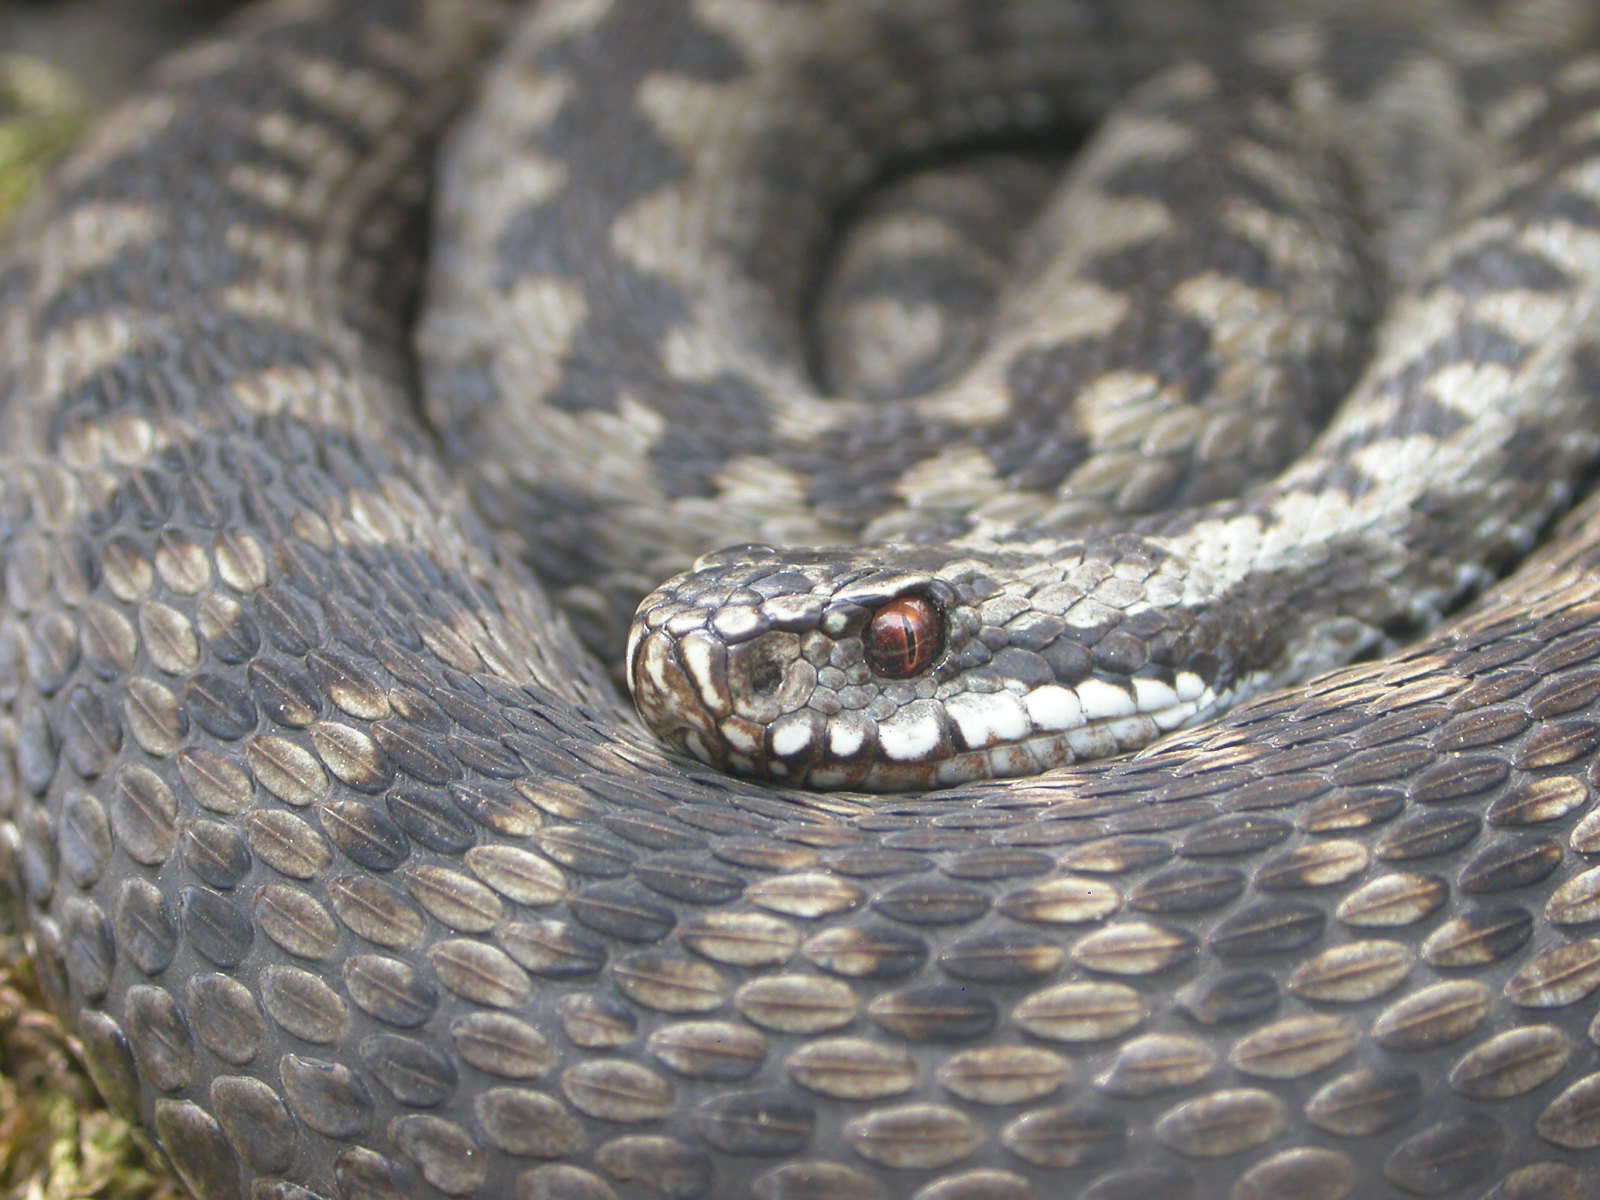
Photo:Common European adder | Author: Zdeněk Fric | License: CC BY-SA 3.0